

Think bodyweight training is all you need?
That’s true for learning movement and building endurance, but it stops driving strength gains after a point.
This roadmap lays out the exact signals to add external load, the six movement patterns to master first, and simple, safe steps you can try tonight—benchmarks, progressions, and a minimum-effective fallback for busy days.
No gym required—small gear like a dumbbell or vest is enough.
Why Bodyweight Training Works (and When It Doesn’t)
Bodyweight training uses your own mass for resistance. It builds motor control and muscular endurance across six movement patterns: bending, squatting, lunging, pushing, pulling, and core. EMG studies from 2014 show that push-ups, squats, and pull-ups often hit more than 60 percent of maximal voluntary contraction, sitting above common hypertrophy thresholds. A 2017 systematic review found that sets taken near failure at light loads can produce muscle growth comparable to heavy lifting.
You can start in 15 square feet with no equipment. The real benefit? Simplicity. You learn movement patterns first, add complexity later.
But bodyweight training has limits. Once you can knock out 3 sets of 12 to 15 reps with clean form, you’re entering endurance territory. Your muscles adapt by getting better at repeating the same task, not necessarily by growing bigger or stronger. At that point, you need more resistance.
The fix is external load. Adding weight shifts the stimulus from endurance to strength and hypertrophy. That’s where the bodyweight-to-weighted roadmap begins.
The Six Movement Patterns You Need to Master
Every exercise falls into one of six patterns. Mastering the bodyweight version of each pattern prepares you to add weight safely.
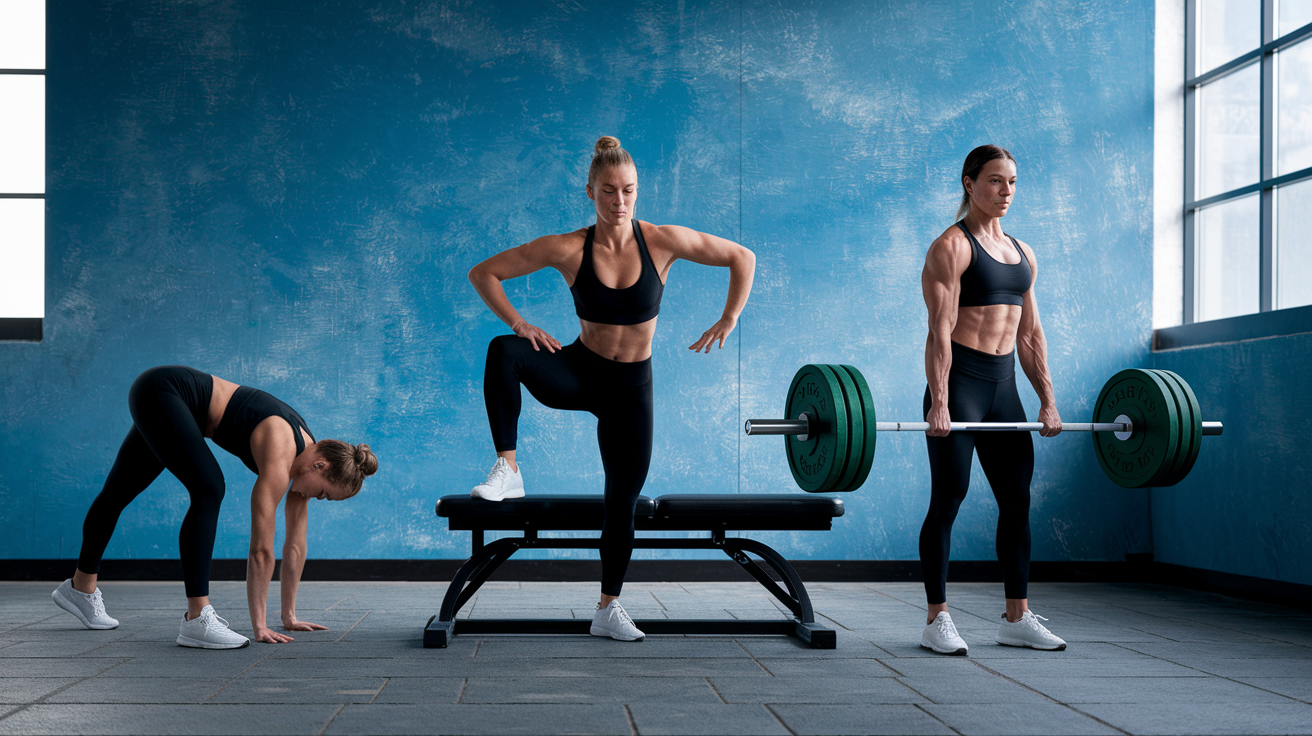
Bending (Hinge): This pattern trains the posterior chain: hamstrings, glutes, and lower back. Examples include glute bridges, hip thrusts, and single-leg Romanian deadlifts (RDLs). Start with a glute bridge. Once you can perform 3 sets of 15 reps, move to a hip thrust. When single-leg hip thrusts are consistent for 3 sets of 10 per leg, you’re ready for weighted hinges like kettlebell swings or barbell RDLs.
Squatting: This pattern targets quads, glutes, and core. Air squats are the foundation. Progress to jump squats for power, Bulgarian split squats for unilateral strength, and pistol squats for advanced control. When you hit 3 sets of 12 to 15 bodyweight squats with your hands on your head, goblet squats or barbell back squats become safe options.
Lunging: Forward lunges, reverse lunges, jumping lunges, skater lunges, and shrimp squats all fit here. Lunges build single-leg stability and coordination. Start with forward or reverse lunges. Once you can perform 3 sets of 12 per leg without wobbling, add a goblet load or dumbbells.
Pushing (Horizontal): Push-ups and their variations build chest, triceps, and front delts. The progression ladder looks like this: knee push-ups, standard push-ups, decline push-ups, archer push-ups, one-arm progressions. When you can do 3 sets of 8 to 12 strict push-ups with a 3-second eccentric, you’re ready for weighted push-ups or dips.
Pushing (Vertical): Pike push-ups, elevated pike push-ups, and handstand push-ups (HSPU) train overhead strength. Start with pike push-ups. Progress to elevated pike with feet on a bench. When you can perform 3 sets of 8 partial HSPU negatives, strict overhead pressing with dumbbells or a barbell fits.
Pulling: Doorway rows, inverted rows, feet-elevated rows, single-arm rows, pull-ups, and chest-to-bar pull-ups make up the pulling ladder. Begin with inverted rows under a sturdy table. When you can do 3 sets of 5 to 8 strict pull-ups with no leg kick, weighted pull-ups are the next step.
Each pattern has a clear entry point and a clear signal that you’re ready to add load. The signal is always the same: 3 sets of the target rep range, performed with clean form, with the last set near failure.
Bodyweight Prerequisite Benchmarks: Are You Ready to Progress?
Adding weight before you’re ready leads to compensation, injury, and stalled progress. Use these numeric benchmarks to decide when you’re ready for the next step.
Horizontal Push (Push-Ups): Perform 3 sets of 8 to 12 strict push-ups with a straight plank line and elbows at roughly 45 degrees. Your chest should touch the floor or come within an inch. If you can do this for 3 sets with 40 to 60 seconds rest between sets, you’re ready for decline push-ups or weighted push-ups.
Vertical Push (Pike or HSPU): Complete 3 sets of 6 to 10 pike push-ups with your hips high and elbows tracking forward. When that’s consistent, move to elevated pike with feet on a bench. Once you nail 3 sets of 5 partial HSPU negatives (lowering from the top position in 3 to 5 seconds), strict overhead pressing is safe.
Pull (Pull-Ups): Achieve 3 sets of 5 to 8 strict pull-ups with no leg kick. Your chin should clear the bar, and you should control the descent for at least 2 seconds. Can’t do a pull-up yet? Perform 3 sets of 8 to 12 inverted rows with your feet elevated before attempting weighted pulls.
Squat/Legs: Complete 3 sets of 12 to 15 bodyweight squats with your hands on your head or behind your back. Your thighs should reach parallel or slightly below. If you can do this and also perform 3 sets of 8 to 10 Bulgarian split squats per leg, you’re ready for goblet squats or barbell squats.
Hinge (Glute Bridge/Hip Thrust): Perform 3 sets of 15 glute bridges or hip thrusts with your hips, knees, and shoulders aligned at the top. Hold the top position for 1 to 2 seconds each rep. When you can do 3 sets of 10 single-leg hip thrusts per leg, you’re ready for weighted hip thrusts or barbell RDLs.
Core (Plank and Hollow Hold): Hold a high plank for 60 seconds with your ribs drawn down and hips level. Hold a hollow position (lower back pressed to the floor, legs and shoulders off the ground) for 45 seconds. When both are consistent, you’re ready for loaded core work like weighted planks or hanging leg raises.
These benchmarks aren’t arbitrary. They reflect the minimum strength needed to control external load without your form collapsing.
If you’re short of these numbers, spend 4 to 12 weeks building your base. Use the progression strategies below to get there.
13 Ways to Make Bodyweight Exercises Harder (Without Adding Weight)
You don’t need a barbell or dumbbells to create progressive overload. These 13 strategies let you increase difficulty using only your body and simple adjustments.
1. Shift More Bodyweight to the Arms
Move your body into a position that forces your arms to carry more load. Example: decline push-ups (feet elevated) shift more weight forward compared to standard push-ups. Handstand push-ups are the extreme version, your arms carry nearly all your bodyweight.
2. Increase Body Length or Leverage
Straighten your limbs or extend your body to increase the lever arm. Example: hanging leg raises with bent knees are easier than straight-leg raises. The longer the lever, the harder your core has to work.
3. Move Weight to One Limb
Unilateral work doubles the load on one side. Example: archer push-ups shift most of your weight to one arm. Progress to one-arm push-ups or pistol squats to build serious single-limb strength.
4. Increase Range of Motion
Go deeper or add a deficit. Example: push-ups on parallettes or with your hands on books allow your chest to drop below hand level, increasing ROM. Full pull-ups (chin over bar) are harder than partial pull-ups.
5. Decrease Stability
Reduce your base of support or use an unstable surface. Example: push-ups on a basketball are harder than push-ups on the floor. Ring push-ups or ring rows demand more stabilizer activation than fixed-bar versions.
6. Adjust Muscle Emphasis
Change hand position or body angle to shift load. Example: close-hand push-ups emphasize triceps, wide-hand targets chest, and pseudo-planche push-ups (hands low, shoulders forward) load the front delts. Pull-up grip variations (wide, narrow, neutral) shift the emphasis across lats, biceps, and mid-back.
7. Perform Movements Slower
Increase time under tension by slowing the eccentric or adding pauses. Example: 3-second eccentric push-ups (lowering for 3 seconds) or 2-second pause squats at the bottom. Tempo notation looks like this: @3010 means 3 seconds down, 0 seconds pause at bottom, 1 second up, 0 seconds pause at top.
8. Perform Movements Explosively
Add plyometric power. Examples: clapping push-ups, superman push-ups (hands and feet leave the ground), or squat jumps. These build rate of force development and recruit fast-twitch fibers.
9. Use Less Counterbalance
Remove your arms from assisting balance. Example: bodyweight squats with hands behind your back or on your head are harder than squats with arms forward for counterbalance.
10. Use a Harder Grip
Increase grip and forearm demand. Example: fingertip push-ups, thick-bar pull-ups, or towel rows (grip a towel thrown over a bar). Harder grips limit your ability to complete reps, which indirectly increases difficulty.
11. Improve Form
Eliminate leg kick, momentum, or compensation. Example: strict pull-ups (no leg drive) are harder than kipping pull-ups. Clean muscle-ups (strict from dead hang) are harder than kipping muscle-ups.
12. Reduce Momentum
Pause at the top or bottom of each rep to eliminate the stretch reflex. Example: pause squats, pause push-ups, or dead-stop rows. Removing the bounce makes each rep harder.
13. Add External Weight
Once bodyweight progressions plateau, add a weighted vest, dip belt, or hold a dumbbell. Example: weighted dips or weighted pull-ups. Start with 2.5 to 5 pounds and increase in small steps.
These strategies can be combined. A decline archer push-up with a 3-second eccentric uses methods 1, 3, and 7 at the same time. Layer them gradually. Don’t jump from standard push-ups to one-arm decline plyometric push-ups in a week.
Movement-Specific Progression Roadmaps
Each movement pattern has a logical ladder from beginner to advanced. Follow these step-by-step progressions and use the benchmarks to know when to move up.
Horizontal Push Progression
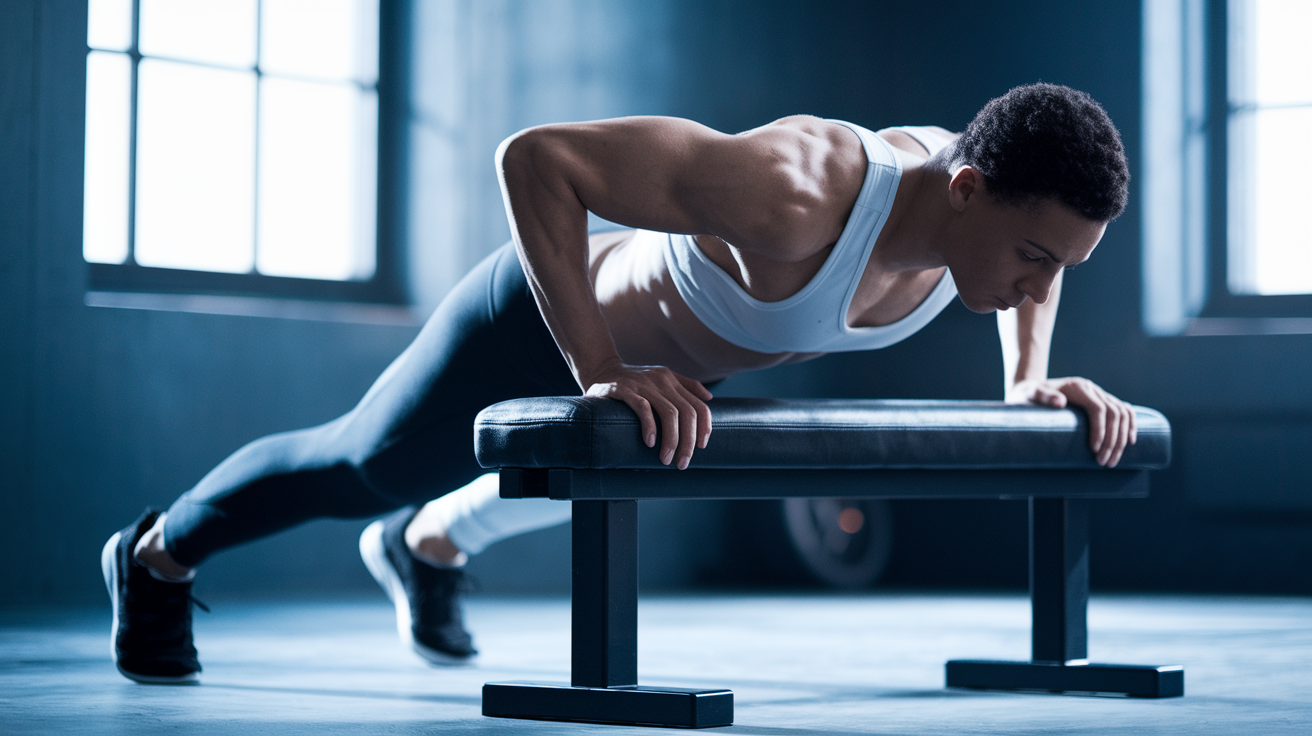
| Exercise | Prerequisite | Target Sets × Reps | Progression Cue |
|---|---|---|---|
| Incline Push-Up (hands on bench) | None | 3 × 10–12 | Lower incline angle |
| Standard Push-Up | 3 × 10 incline | 3 × 8–12 | Add 3-second eccentric |
| Decline Push-Up (feet elevated) | 3 × 12 standard | 3 × 8–10 | Raise feet higher |
| Archer Push-Up | 3 × 10 decline | 3 × 6–8 per side | Shift more weight to working arm |
| One-Arm Push-Up Negative | 3 × 8 archer | 3 × 5 negatives (5 s lower) | Add concentric phase |
| Weighted Push-Up (vest or plate) | 3 × 12 standard | 3 × 8–12 | Add 2.5–5 lb increments |
| Dip (parallel bars or rings) | 3 × 10 decline | 3 × 6–10 | Full ROM, chest to hands |
| Weighted Dip | 3 × 10 bodyweight dip | 3 × 5–8 | Add 2.5–5 lb increments |
Start with incline push-ups if you can’t complete 8 standard push-ups. Once you hit 3 sets of 12 at any level, move to the next step. Use tempo work (3-second eccentrics) before jumping to the next leverage variation.
Vertical Push Progression
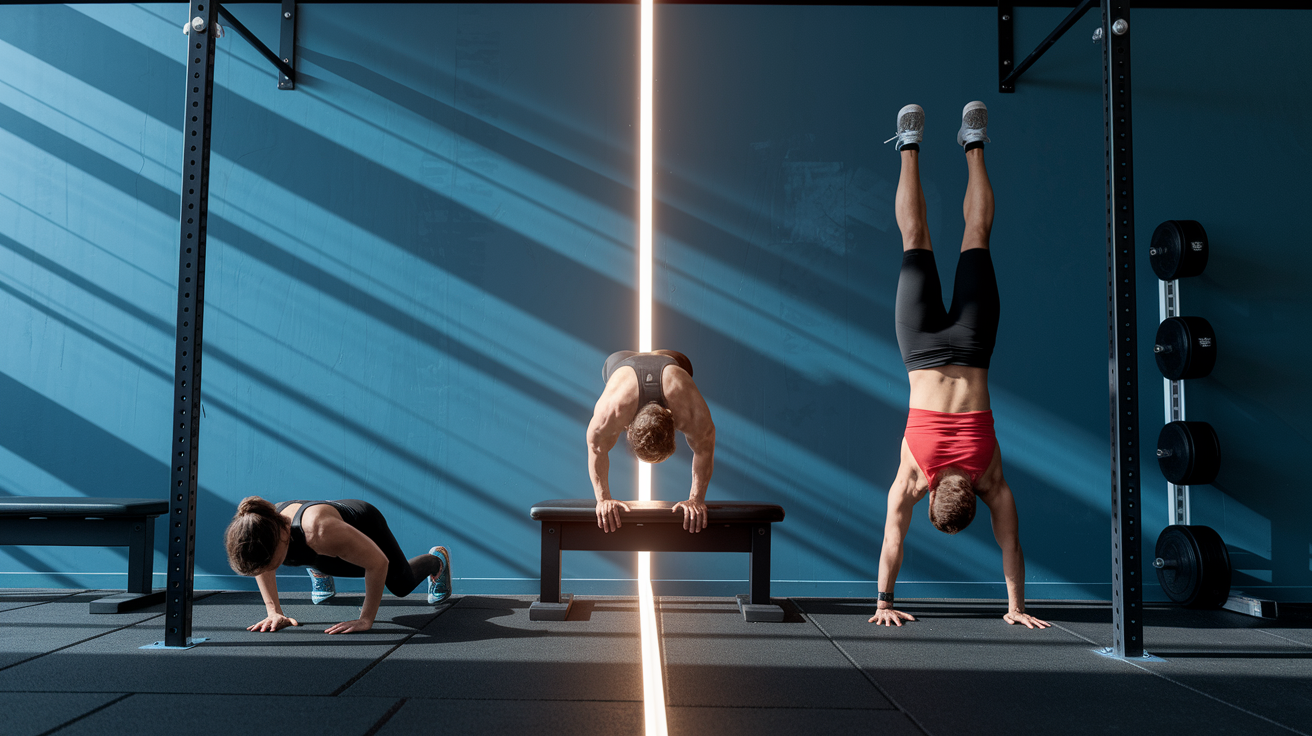
| Exercise | Prerequisite | Target Sets × Reps | Progression Cue |
|---|---|---|---|
| Pike Push-Up (floor) | 3 × 10 standard push-up | 3 × 8–12 | Bring feet closer to hands |
| Elevated Pike (feet on bench) | 3 × 12 pike | 3 × 8–10 | Raise feet higher |
| Partial HSPU Negative (wall) | 3 × 10 elevated pike | 3 × 5 negatives (3–5 s) | Lower deeper |
| Full HSPU (wall-assisted) | 3 × 8 partial negatives | 3 × 5–8 | Add freestanding holds |
| Weighted Overhead Press (dumbbell or barbell) | 3 × 8 full HSPU | 3 × 6–10 | Add 2.5–5 lb increments |
Vertical pushing is skill-intensive. Expect to spend 8 to 12 weeks moving from pike push-ups to full HSPU. If you don’t have wall space or balance for handstands, switch to seated or standing overhead presses with dumbbells once pike progressions plateau.
Pull Progression
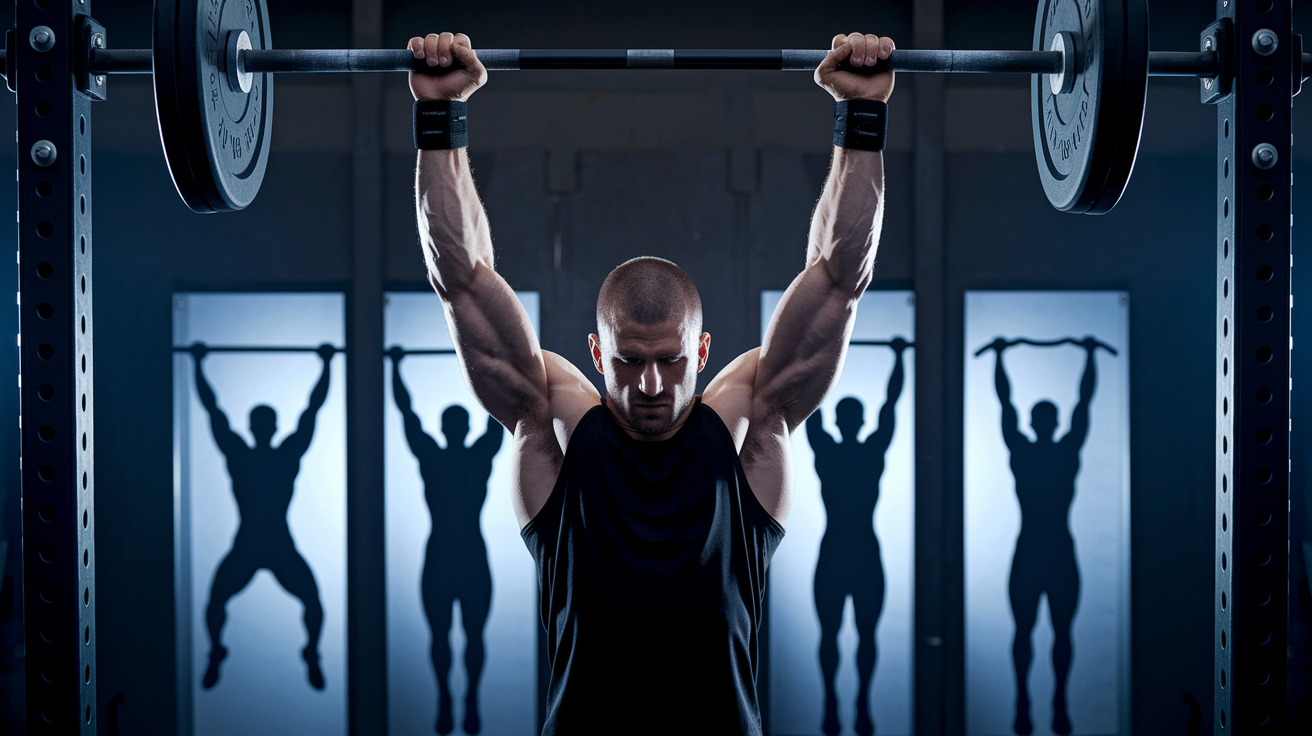
| Exercise | Prerequisite | Target Sets × Reps | Progression Cue |
|---|---|---|---|
| Doorway Row (bent knees) | None | 3 × 10–12 | Straighten legs |
| Inverted Row (table or bar) | 3 × 12 doorway row | 3 × 8–12 | Lower bar height |
| Feet-Elevated Inverted Row | 3 × 12 inverted row | 3 × 8–10 | Raise feet higher |
| Single-Arm Row (towel or suspension) | 3 × 10 feet-elevated row | 3 × 8 per side | Reduce counterbalance from off arm |
| Assisted Pull-Up (band or foot assist) | 3 × 10 single-arm row | 3 × 5–8 | Use lighter band |
| Strict Pull-Up | 3 × 8 assisted pull-up | 3 × 5–8 | Add 2-second pause at top |
| Chest-to-Bar Pull-Up | 3 × 8 strict pull-up | 3 × 5–8 | Touch chest to bar |
| Archer Pull-Up | 3 × 8 chest-to-bar | 3 × 5 per side | Shift more weight to working arm |
| One-Arm Pull-Up Negative | 3 × 5 archer | 3 × 3 negatives (5 s lower) | Add concentric phase |
| Weighted Pull-Up | 3 × 8 strict pull-up | 3 × 5–8 | Add 2.5–5 lb increments |
If you can’t do a pull-up yet, start with inverted rows. Spend 4 to 8 weeks building your back and biceps with rows before attempting assisted pull-ups. Once you can do 3 sets of 5 strict pull-ups, you’re strong enough to add external weight.
Squat and Leg Progression
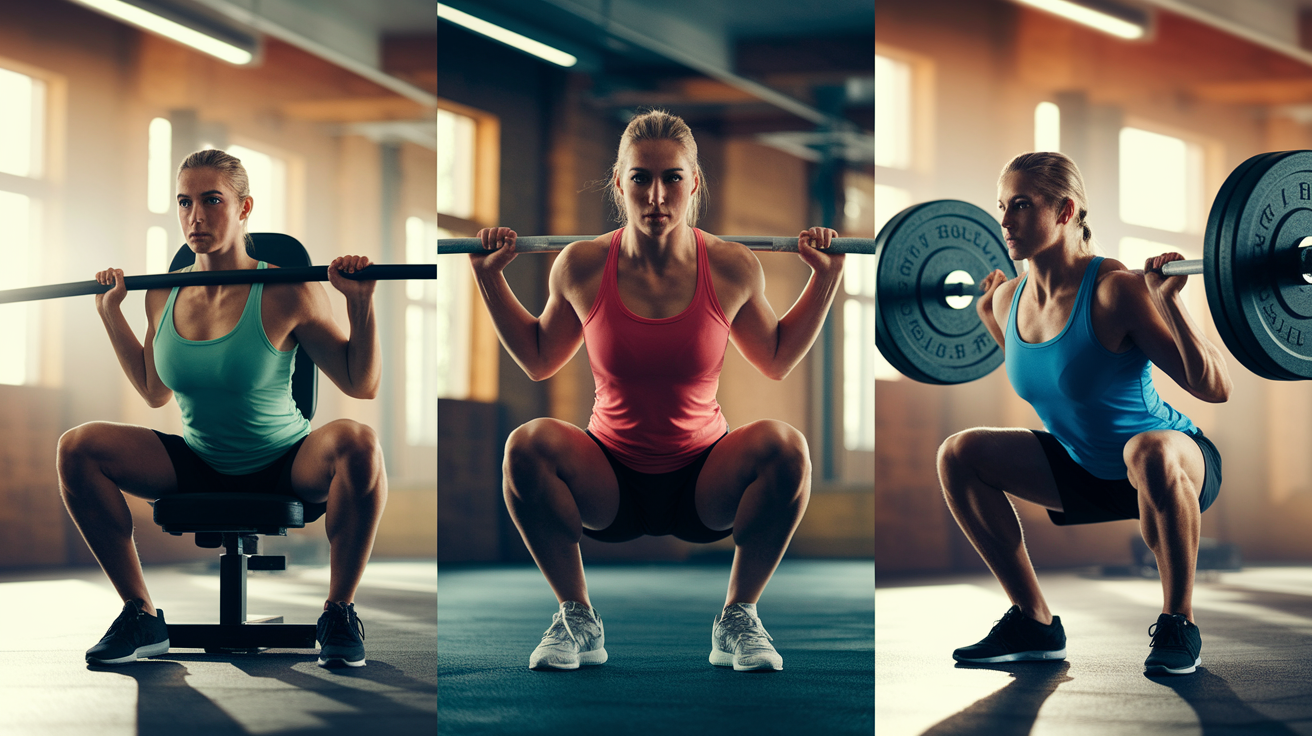
| Exercise | Prerequisite | Target Sets × Reps | Progression Cue |
|---|---|---|---|
| Chair-Assisted Squat (touch and go) | None | 3 × 10–12 | Remove hand assist |
| Air Squat | 3 × 12 chair squat | 3 × 12–15 | Add tempo (@20X1) |
| Hands-on-Head or Behind-Back Squat | 3 × 15 air squat | 3 × 12–15 | Remove counterbalance |
| Jump Squat | 3 × 15 air squat | 3 × 10–12 | Increase jump height |
| Bulgarian Split Squat (rear foot elevated) | 3 × 12 air squat | 3 × 10–12 per leg | Lower bench height |
| Assisted Pistol Squat (hold post or TRX) | 3 × 10 Bulgarian split | 3 × 8–10 per leg | Reduce hand assist |
| Pistol Squat | 3 × 10 assisted pistol | 3 × 5–8 per leg | Add pause at bottom |
| Goblet Squat (kettlebell or dumbbell) | 3 × 15 air squat | 3 × 8–12 | Add 2.5–5 lb increments |
| Barbell Back Squat | 3 × 12 goblet squat | 3 × 5–10 | Add 5–10 lb increments |
Squats have many branches. If your goal is bilateral strength, move from air squats to goblet squats to barbell squats. If your goal is unilateral control and athleticism, work the Bulgarian split and pistol ladder. Both are valid. Choose based on your sport or training goal.
Hinge Progression
| Exercise | Prerequisite | Target Sets × Reps | Progression Cue |
|---|---|---|---|
| Glute Bridge (floor) | None | 3 × 12–15 | Add 1–2 s pause at top |
| Hip Thrust (shoulders on bench) | 3 × 15 glute bridge | 3 × 12–15 | Add tempo (@2010) |
| Single-Leg Hip Thrust | 3 × 15 hip thrust | 3 × 10–12 per leg | Extend non-working leg fully |
| Single-Leg RDL (bodyweight) | 3 × 10 single-leg thrust | 3 × 10–12 per leg | Increase hip hinge depth |
| Weighted Hip Thrust (barbell or dumbbell) | 3 × 15 hip thrust | 3 × 8–12 | Add 5–10 lb increments |
| Weighted RDL (barbell or kettlebell) | 3 × 12 single-leg RDL | 3 × 6–10 | Add 5–10 lb increments |
Hinge patterns protect your lower back and build your glutes and hamstrings. Master the bodyweight versions before adding a barbell. Poor hip hinge mechanics under load are a common cause of lower-back tweaks.
Core Progression
| Exercise | Prerequisite | Target Sets × Time or Reps | Progression Cue |
|---|---|---|---|
| High Plank | None | 3 × 30–60 s | Add shoulder taps |
| Plank with Shoulder Taps | 3 × 60 s plank | 3 × 10–12 taps per side | Slow the taps |
| Long-Lever Plank (hands forward) | 3 × 60 s plank | 3 × 30–45 s | Move hands farther forward |
| Hollow Hold (supine, arms overhead) | 3 × 60 s plank | 3 × 20–45 s | Extend legs lower |
| Hanging Knee Raise | 3 × 45 s hollow | 3 × 10–12 | Straighten legs |
| Hanging Leg Raise (straight legs) | 3 × 12 knee raise | 3 × 8–12 | Add 2 s pause at top |
| Toes-to-Bar | 3 × 12 leg raise | 3 × 8–10 | Touch toes to bar |
| Weighted Hanging Leg Raise (dumbbell between feet) | 3 × 12 toes-to-bar | 3 × 8–10 | Add 2.5–5 lb increments |
Core work should emphasize anti-extension and anti-rotation before adding weight. If your lower back arches during planks or hollow holds, regress and fix the position. Adding load on top of a faulty pattern creates problems.
Sets, Reps, and Tempo by Training Goal
Your sets, reps, and tempo depend on whether you’re chasing strength, muscle growth, or endurance. Here’s how to program each.
Strength (3–6 reps, 3–5 sets):
Use heavier external load when applicable. Rest 2 to 3 minutes between sets. Example: 5 sets of 5 weighted pull-ups with 10 pounds, resting 3 minutes. Tempo can be moderate (@2010) or include a pause (@20X1). Focus on adding weight over time, in 1.25 to 5 pound steps.
Strength/Hypertrophy Hybrid (5–8 reps, 3–5 sets):
This range builds both strength and size. Example: 4 sets of 6 archer push-ups per side, tempo @3010, resting 90 seconds. Add a leverage step or external load when you can complete all sets at the top of the range.
Hypertrophy (8–15 reps, 3–4 sets):
Higher reps with shorter rest (60 to 90 seconds). Example: 4 sets of 12 decline push-ups, tempo @2010, resting 60 seconds. A 2017 meta-analysis found that sets taken near failure at lighter loads produce similar muscle growth to heavy sets. Push the last set close to failure.
Endurance (15+ reps, 2–4 sets):
Circuit-style work or timed sets. Example: 3 sets of 20 air squats, resting 30 seconds. This is useful for beginners or as a deload, but it won’t build strength or size once you’re past the first 8 to 12 weeks.
Tempo Prescriptions:
Tempo is written as four numbers: eccentric, bottom pause, concentric, top pause. @3010 means 3 seconds lowering, 0 seconds at the bottom, 1 second pushing up, 0 seconds at the top. Use slow eccentrics (3 to 5 seconds) to increase time under tension when you can’t add weight. Use pauses (1 to 3 seconds at the bottom) to eliminate the stretch reflex and make each rep harder.
Sample tempo progressions for push-ups:
- Week 1: @2010 (normal speed)
- Week 2: @3010 (3-second lower)
- Week 3: @40X0 (4-second lower, explosive up)
When tempo and leverage progressions plateau, add external load.
When and How to Add External Weight
Adding weight is the simplest way to continue progressive overload once bodyweight progressions stall. Use these readiness indicators and increment rules.
Readiness Indicators:
You’re ready to add external load when you can consistently complete 3 sets within your target rep range (8 to 15 for hypertrophy, 5 to 8 for strength) with perfect form, and the last set is near failure. If you can do 3 sets of 12 push-ups and still have 5 reps in the tank on the third set, add weight or switch to a harder leverage variation.
You should also be able to perform unilateral or tempo variations without form breakdown. If archer push-ups or 3-second eccentric push-ups cause your hips to sag or your elbows to flare, you’re not ready for weighted push-ups.
Hold-based benchmarks are another signal. If you can hold a plank for 60 seconds or a hollow hold for 45 seconds with no lower-back compensation, you have enough core stability to safely add load.
Practical Equipment Options:
Weighted vest or jacket: Start with 5 pounds. Add 2.5 to 5 pounds per progression. Vests are great for push-ups, pull-ups, dips, and squats. They distribute load evenly.
Dip belt: Hang weight plates or kettlebells from a belt around your waist. Use for dips and pull-ups. Start with 2.5 to 5 pounds.
Dumbbells or kettlebells: Hold a dumbbell between your feet for hanging leg raises, or hold a kettlebell at chest height for goblet squats. Start with 5 to 10 pounds for goblet squats, 2.5 pounds for weighted leg raises.
Barbell and plates: For squats, deadlifts, and overhead presses. Start with the empty bar (45 pounds for a standard Olympic barbell, or use a lighter training bar). Add 5 to 10 pounds per session for lower-body lifts, 2.5 to 5 pounds for upper-body lifts.
Resistance bands: Use bands for assistance (assisted pull-ups) or added resistance (banded push-ups). Bands are cheap and portable, but harder to measure progress compared to fixed weights.
Weight Increment Rules:
Upper-body movements are more sensitive to load increases. Add 1 to 2.5 pounds (0.5 to 1 kilogram) per step, or 2.5 to 5 percent of your current load. Example: if you’re doing weighted pull-ups with 10 pounds for 3 sets of 8, jump to 12.5 pounds once you can do 3 sets of 10.
Lower-body movements can handle bigger jumps. Add 2.5 to 5 pounds (1 to 2.5 kilograms) per step, or 5 to 10 percent of your current load. Example: if you’re doing goblet squats with 20 pounds for 3 sets of 12, jump to 25 pounds once you can do 3 sets of 15.
For weighted vests, add 2.5 to 5
Final Words
in the action, you learned how to move from bodyweight basics to simple weighted lifts, focus on form, and set clear progress markers.
The post laid out a step-by-step approach: pick core moves, track small wins, and use short, consistent sessions as your baseline.
Tonight, pick one bodyweight exercise and add one small change—an extra rep or a light weight. That tiny step starts your bodyweight-to-weighted progression roadmap for beginners. Keep going; steady wins.
FAQ
Q: What is the difference between Option A, B, and C?
A: The difference between Option A, B, and C is scope and depth: A is exhaustive (12–16+ sections), B is medium (8–10 sections), and C is compact (6–7 sections) for quicker delivery.
Q: Which option is best for SEO and speed to publish?
A: The best option for SEO and speed to publish is usually B: it balances strong keyword coverage and structure with a reasonable turnaround; C is fastest, A builds the most topical authority.
Q: How do I choose the right option for my project?
A: To choose the right option for your project, match it to goals: pick A for pillar content and authority, B for full articles that rank, C for quick guides or tight budgets and timelines.
Q: How long will each outline take to produce?
A: The turnaround times vary: C typically 24–48 hours, B 48–72 hours, and A 4–7 days, depending on research depth and how quickly you provide feedback for revisions.
Q: What deliverables come with each outline option?
A: Deliverables differ by option: C gives H2s and a brief angle, B adds H3s, key points, and basic keyword notes, A includes full H3/H4 breakdowns, suggested word counts, and mapped keywords.
Q: Can I change my outline choice after you start?
A: Yes, you can change your outline choice after work starts; expect a short scope update and possible extra time or small fee if the change adds substantial research or structure work.
Q: How many keywords or topics will each option cover?
A: The number of keywords covered grows with scope: C focuses on 1–2 primary terms, B covers 3–6 related keywords, and A maps 8–12+ primary and long-tail subtopics for depth.
Q: Will the outline include suggested word counts and search intent?
A: The outline will include suggested word counts and search intent: B and A always include intent, target length, and angle; C includes a simple target and core focus for quick use.
Q: What’s the simplest next step I can take tonight to move forward?
A: The simplest next step tonight is to choose Option A, B, or C and send 2–3 priority keywords or a sample URL—I’ll start research and confirm the timeline immediately.
Q: How many revisions are included and what if I need more?
A: The standard offer includes one free revision; extra rounds or major restructuring are available for an added fee or by prior agreement, and we’ll confirm limits before starting.