

Think you need high-tech gear to track strength?
You don’t.
A notebook, a timer, and a heavy water bottle can give clearer proof than guesses or scale numbers.
In this post you’ll get simple monthly tests, quick daily logs, and household-load ideas that prove progress.
You’ll learn what to measure, how often, and the one weekly habit that shows real gains.
Start tonight: test one max push-up or plank, write it down, and compare in four weeks.
Practical Ways to Track Strength Progress at Home (No Equipment Needed)

Tracking strength without a gym isn’t complicated. You don’t need apps or fancy gadgets. A notebook, your body, and maybe a water bottle are enough to tell you if training’s working. The clearest sign is what you can actually do. More reps? Longer holds? Easier execution on moves that used to wreck you? That’s progress, and you can start measuring it tonight.
Bodyweight exercises give you reliable checkpoints. Test a max-effort push-up set today, retest in four weeks. The difference in reps tells you exactly how much stronger you’ve gotten. Time-based holds work the same way. A plank that collapsed at 45 seconds in week one might feel manageable at 90 seconds by week eight. These changes can show up in as little as two to four weeks if you’re consistent. And tracking them keeps you going when the mirror isn’t cooperating yet.
Subjective stuff matters too. Energy levels, how hard a set feels, soreness patterns, recovery speed. All of it signals adaptations happening under the surface. If 10 squats used to leave you winded and now they feel routine, that’s worth writing down. Pair those observations with objective numbers and you get a complete picture.
Track these six things to measure strength at home:
Rep max tests. Record the most reps you can do in one set for push-ups, squats, or any bodyweight move. Retest monthly.
Timed holds. Measure how long you can hold a plank, wall sit, or dead hang in seconds.
Tape measurements. Measure chest, waist, hips, thighs, and arms every two to four weeks to catch muscle growth or fat loss.
Progress photos. Take front, side, and back photos weekly or biweekly in the same clothes and lighting.
Simple workout log. Write down every session with date, exercise, sets, reps, and notes on how it felt.
Weekly benchmarks. Pick one test move (like max push-ups) and track it every seven days to spot small improvements.
Rep, Set, and Tempo Tracking for Home Strength Improvements

Rep and set volume is the easiest measure of strength progress. Write down how many reps you complete per set, how many sets you finish, and whether you reach failure or stop with reps left. If you did three sets of eight push-ups last week and this week you hit three sets of ten, you’re stronger. That two-rep gain might seem small, but over eight weeks it adds up.
Target rep ranges guide your training. Three to six reps builds maximum strength. Six to twelve targets muscle growth. Twelve-plus improves endurance.
Tempo adds another layer. It’s the speed of each phase of a rep, written as three numbers: seconds down (eccentric), seconds paused, seconds up (concentric). A 3-1-1 tempo means three seconds lowering, one second pause, one second lifting. That’s five seconds per rep, so eight reps equals 40 seconds of time under tension. Slowing your tempo increases difficulty without adding weight.
Tracking tempo lets you apply progressive overload even when reps stay the same. If last month’s set at 2-0-2 tempo now feels easy at 3-1-2, you’ve gotten stronger. Lower rated perceived exertion at the same tempo and reps is another sign of progress.
Here’s how to track reps, sets, and tempo:
Record reps to failure. Do one all-out set of an exercise and write the number. Compare this max every four weeks to measure strength gains. Example: 12 push-ups in week one, 17 in week four.
Track set volume. Write total reps across all sets each session. Example: 3 sets × 8 reps = 24 total reps. Try to increase total volume by five to ten percent weekly.
Use tempo as resistance. Slow down the lowering phase to 3 or 4 seconds per rep. Record tempo in your log and note if you can complete the same reps at a slower speed than last session.
Apply the two-for-two rule. When you can do two extra reps beyond your target for two workouts in a row, increase difficulty by adding a rep to every set, slowing tempo, or switching to a harder variation.
Using Household Items as “Weights” and Tracking Load
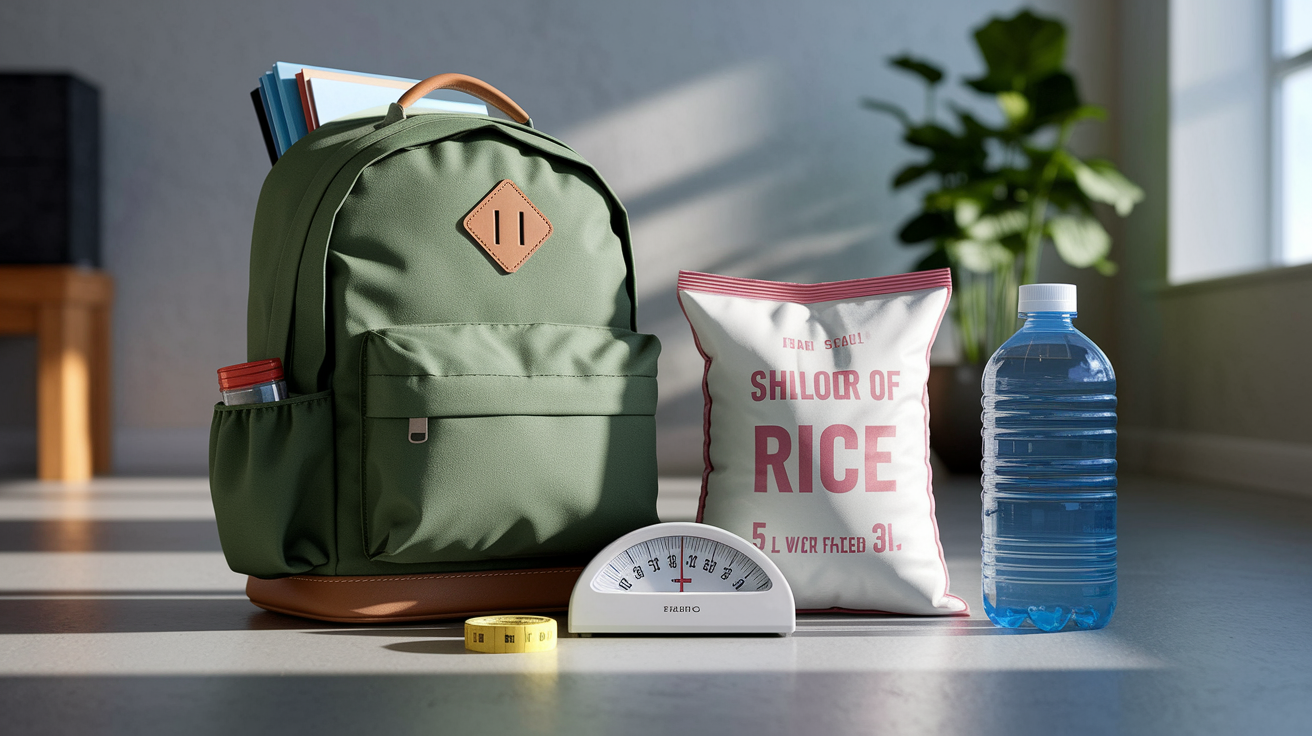
You don’t need dumbbells to add load. Household items work fine if you know their weight and track it. A one-liter water bottle weighs one kilogram. A US gallon jug is about 3.8 kilograms. Bags of rice and flour come in standard sizes: one, two, five, or ten kilograms. A backpack loaded with books can hold anywhere from 4.5 to 9 kilograms depending on how many you add.
Once you know the weight, you can apply progressive overload the same way you would with a barbell. Add a small amount every week or two and log it.
Recording load lets you quantify progress. If you did three sets of ten goblet squats holding a five-kilogram rice bag last month and this month you’re using a ten-kilogram bag for the same reps, you’ve doubled your working load. That’s measurable strength improvement.
Microloading (adding small increments like 0.5 to 1 kilogram per session) keeps progress steady and reduces injury risk. At home, you microload by adding one more book to the backpack, switching from a two-liter bottle to a five-liter jug, or holding two items instead of one.
| Item | Approx Weight | Notes |
|---|---|---|
| 1 L water bottle | 1 kg | Easy to grip; pair two for 2 kg total |
| 5 kg rice or flour bag | 5 kg | Common size; hold against chest for squats or rows |
| Loaded backpack | 4.5–9 kg | Add books one at a time; weigh on bathroom scale to confirm |
| 2.5 L paint can | ~2.5 kg | Handle makes it useful for curls or overhead press |
Simple At-Home Strength Tests to Measure Progress
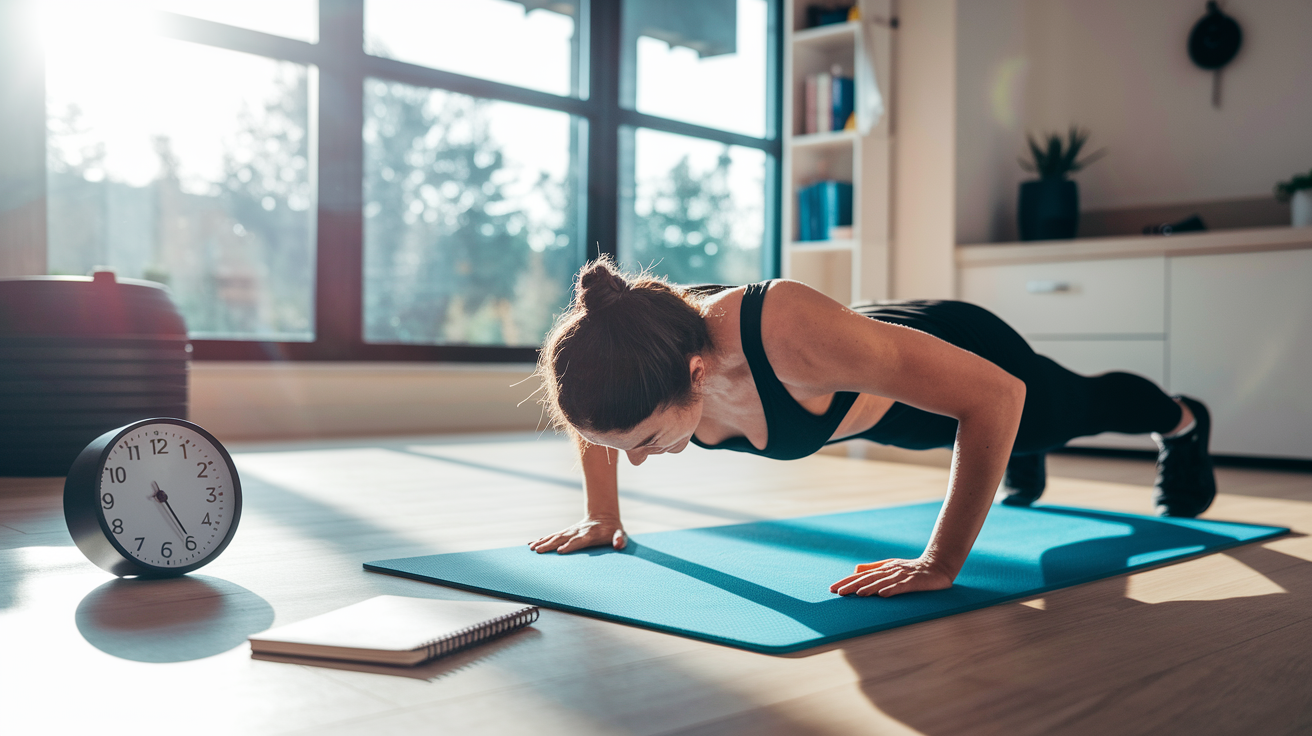
Performance tests give you objective proof that training is working. Pick a handful of reliable moves, test them once a month, and compare the numbers. These tests take five to ten minutes total and reveal strength changes that daily workouts might hide. Retesting every four weeks gives your body enough time to adapt while keeping you motivated with visible improvement.
Upper Body Tests
The push-up max test is the gold standard for upper-body pressing strength. Warm up, then do as many strict push-ups as you can with good form. Stop when your chest doesn’t touch the ground or your hips sag. Write the number down.
Beginners typically hit fewer than ten reps. Intermediate lifters land between ten and thirty. Advanced trainees exceed thirty continuous reps. Expect to add five to eight reps in your first four weeks of consistent training. After that, gains slow but remain measurable: two to four reps per month is solid progress.
Pull-up progression tracking works similarly. If you can’t do a full pull-up yet, test assisted negatives: jump to the top position and lower yourself as slowly as possible. Count how many controlled negatives you complete or how long you can hold the top position. When you can hold a ten-second top position or complete five slow negatives, you’re close to your first full pull-up. Retest monthly and track time or reps.
Lower Body & Core Tests
For lower body, use the timed chair squat test. Set a timer and complete twenty bodyweight squats to a chair or bench at a controlled tempo. Record your time. As you get stronger, the same twenty reps will take less time or feel easier at the same pace. You can also test a single all-out set of squats: how many can you do in one minute? Compare monthly.
Plank hold time measures core endurance and total-body tension. From a forearm plank, hold perfect form (flat back, tight glutes, neutral neck) and record your max time in seconds. Beginners often start around 30 seconds. Intermediate trainees hold 60 to 120 seconds. Advanced holds exceed two minutes.
Expect to add 20 to 50 percent to your plank time every four weeks in the first two to three months of training. After that, progress slows but remains trackable.
Tracking Body Measurements and Photos to Verify Strength Gains

Strength training changes your body’s shape and composition, often before the scale moves. Tape measurements catch those changes in real time. Measure five sites every two to four weeks: chest (at nipple line), waist (at belly button), hips (widest point), mid-thigh (halfway between knee and hip), and upper arm (midpoint between shoulder and elbow). Write down the numbers in centimeters.
Increasing measurements in the chest, arms, and thighs while the waist shrinks or holds steady signals muscle growth and fat loss. One client logged a 15-pound bodyweight drop but recorded a 33-inch total reduction across all measured sites. Proof that composition shifted even when weight loss seemed modest.
Progress photos provide visual confirmation that numbers sometimes miss. Take front, side, and back photos every week or every two weeks. Wear the same clothes, use the same lighting, and stand in the same spot. Small weekly changes are hard to see, but when you compare week one to week eight, muscle definition, posture improvements, and fat distribution shifts become obvious.
Waist circumference deserves special attention. It’s a strong indicator of visceral fat, which affects metabolic health. A shrinking waist, even if weight stays flat, means you’re reducing disease risk and building a healthier body.
Track these five measurement sites consistently:
Chest. Measure around the fullest part, usually at nipple height.
Waist. Measure around your belly button, not your belt line.
Hips. Measure at the widest point of your glutes.
Mid-thigh. Measure halfway between your knee and hip on each leg.
Upper arm. Measure midway between shoulder and elbow, relaxed.
Using RPE and RIR to Track Strength Without Weights

Rated perceived exertion (RPE) and reps in reserve (RIR) let you measure effort and progress even when load and reps stay the same. RPE is a one-to-ten scale: one feels effortless, ten is absolute maximum effort where another rep is impossible. For strength work, aim for RPE seven to nine on your hard sets.
If last month’s set felt like a nine and this month the same reps and tempo feel like a seven, you’ve adapted. That downward trend in perceived difficulty is progress, and it happens before you add weight or reps.
RIR counts how many more reps you could have done at the end of a set. If you stop a set of squats at eight reps but you could have done two more, that’s RIR 2. Beginners should aim for one to three reps in reserve to avoid form breakdown and excessive fatigue.
Tracking RIR over time shows strength gains. If eight reps used to be RIR 0 (total failure) and now it’s RIR 3 (you could do eleven), you’ve gotten significantly stronger without changing the program. Logging RPE and RIR takes five seconds per set and adds context that raw numbers can’t capture.
Use these four RPE cues to track perceived effort accurately:
RPE 5 to 6. Moderate effort. You could hold a short conversation. Several reps left in reserve.
RPE 7. Hard but controlled. Breathing heavy. Two to three reps left.
RPE 8 to 9. Very hard. One to two reps left. Form starts to wobble near the end.
RPE 10. Maximum effort. Failure on the last rep. No more reps possible with good form.
Keeping an Effective Home Strength Log
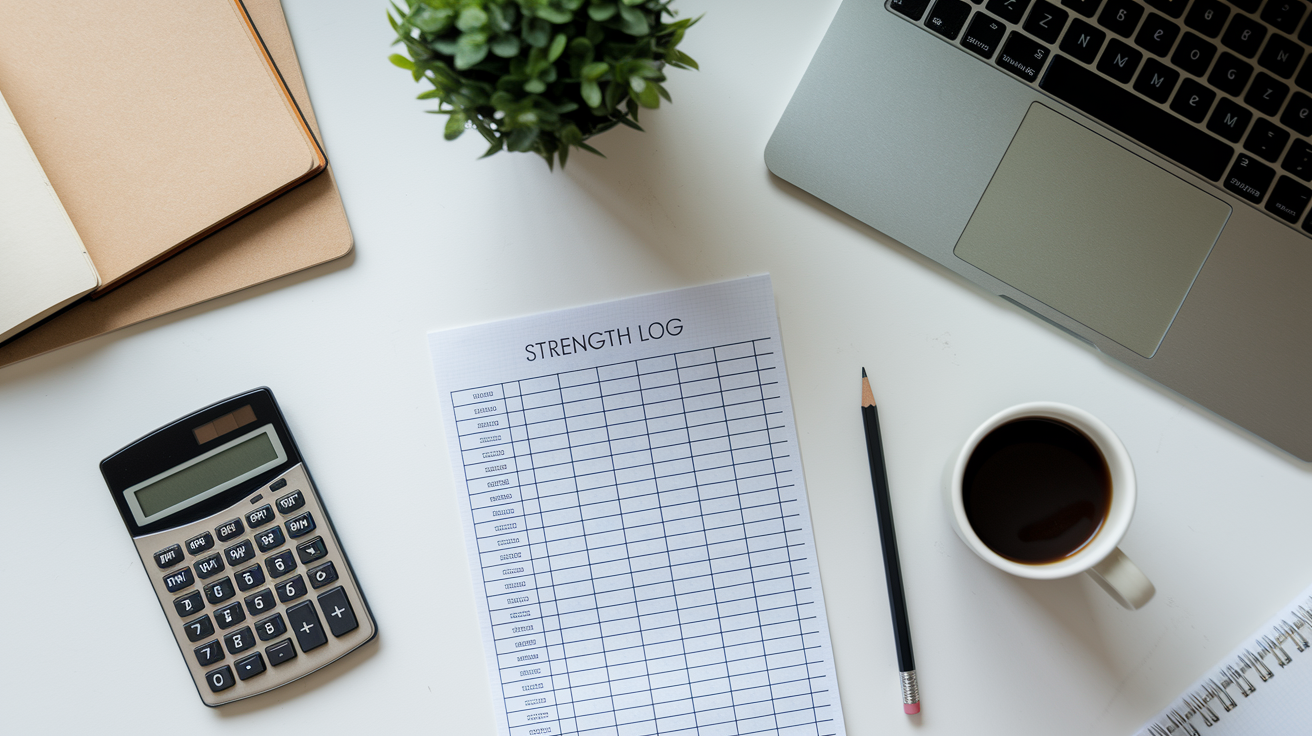
A simple log is the backbone of progress tracking. You need seven pieces of information per exercise: date, exercise name, sets, reps, load (or bodyweight), tempo, and RPE. Write it down immediately after each set or at the end of your session while it’s fresh.
A paper notebook works. A spreadsheet works. Free apps work if they let you record custom notes and don’t require paid features. The tool doesn’t matter. Consistency does.
Daily logs show you what happened. Weekly summary lines (total reps, total volume, average RPE) reveal trends. Monthly reviews show whether you’re improving or stalled.
Logging also prevents guesswork. You won’t remember if you did three sets of eight or three sets of ten two weeks ago. You won’t recall if the last session felt easier or harder. Writing it down removes ambiguity and keeps you honest.
If your log shows the same reps and load for four straight weeks, you know you need to increase difficulty. If RPE drops across three sessions at the same volume, you’re getting stronger even if the numbers haven’t changed yet. A basic notebook costs two dollars and lasts six months. That’s all the tracking technology most people need.
Here’s a sample seven-column log format you can copy into a notebook or spreadsheet:
Date | Exercise | Sets × Reps | Load | Tempo | RPE | Notes
Jan 15 | Push-up | 3 × 10 | Bodyweight | 2-0-1 | 7 | Felt strong, last set harder
Jan 15 | Goblet squat | 3 × 12 | 5 kg rice bag | 3-1-1 | 8 | Thighs burning on set 3
Jan 17 | Plank hold | 2 × 60s | Bodyweight | N/A | 8 | Held full 60s both sets
Monthly Progress Reviews and How to Interpret the Data

Progress happens in layers. Neuromuscular gains show up first, usually within two to four weeks. You’ll notice exercises feel smoother, reps move faster, or hard sets require less rest. Visible changes (muscle definition, size, or fat loss) take six to twelve weeks of consistent training. Strength improvements you can measure on a test, like adding ten push-ups to your max or holding a plank 50 percent longer, happen across the same six-to-twelve-week window.
Checking your data monthly lets you catch real trends without overreacting to daily noise.
If your log shows no improvement for two to four consecutive weeks (same reps, same load, same RPE), you’ve hit a plateau. That’s normal and fixable. Increase load by 2.5 to 5 percent, add one or two reps per set, slow your tempo by one second, or add an extra set. Any of those changes reintroduce overload and restart adaptation.
If you’re using bodyweight only, switch to a harder variation: decline push-ups instead of regular, single-leg squats instead of two-leg, or longer plank holds with one foot elevated.
Monthly reviews also confirm what’s working. If your push-up max went from twelve to seventeen, your plank time jumped from 45 seconds to 75 seconds, and your waist measurement dropped two centimeters, your program is effective. If one metric improves but others stall, adjust volume or intensity in the lagging area.
Comparing month-to-month performance over three to six months shows the big picture: are you consistently stronger, or are you spinning your wheels?
Follow these five steps every month to review progress:
Retest benchmark moves. Complete max-rep push-ups, max plank hold, and timed squats. Compare to last month’s numbers and calculate percent improvement.
Review weekly logs. Add up total reps and sets for each exercise across the month. Look for upward trends in volume or downward trends in RPE at the same load.
Take body measurements. Measure chest, waist, hips, thighs, and arms. Compare to measurements from four weeks ago and note increases (muscle) or decreases (fat loss).
Compare progress photos. Line up this month’s photos next to last month’s. Look for visible changes in muscle shape, posture, or definition even if measurements are similar.
Adjust your plan. If progress stalled, add reps, load, tempo, or sets. If progress is strong, keep the current program for another four weeks before changing anything.
Final Words
You now have simple ways to measure gains: bodyweight benchmarks (push-ups, squats, planks), rep/set and tempo tracking, and DIY loads like water jugs. Use quick tests, photos, and tape measurements to see real changes.
Keep it simple: log sets, reps, time, and RPE. Retest every 4 weeks, since strength often shows in 2–4 weeks. Small, steady steps beat big swings.
Start today: jot one workout in a notebook and pick a weekly benchmark. That’s how to track strength progress at home without fancy tools. You’ll see progress.
FAQ
Q: Can you do strength training at home with no equipment?
A: You can do strength training at home with no equipment by using bodyweight moves like push-ups, squats, lunges, and planks, then progress with more reps, slower tempo, or extra sets for steady gains.
Q: What is the 3-3-3 rule for workout?
A: The 3-3-3 rule for workouts usually means doing 3 exercises, 3 sets each, three sessions per week — a simple, consistent structure that makes progress easy to track and repeat.
Q: What is the 5-3-1 rule in gym?
A: The 5-3-1 rule is a strength cycle using three main weeks: sets of 5 reps, then 3 reps, then 1 rep, performed at planned percentages of your one-rep max to build maximal strength over time.
Q: How do I check my strength at home?
A: You check your strength at home with simple tests: push-up max, timed plank, timed 20-rep chair squats, rep-to-failure tests, tracking improvements every 2–4 weeks and using tape measurements.