

What if the fastest way to get stronger isn’t forcing heavier weights every week?
For beginners, RPE (how hard a set feels on a 1 to 10 scale) and autoregulation let you train based on daily readiness.
Start most working sets at RPE 7 to 8, check warm-up bar speed, and tweak weight by about 5 to 10% if it feels off.
This piece shows the simple rules, a quick drill to learn RPE, and a clear progression plan so you can add small weight jumps without guessing.
No complicated math. Just honest checks, small steps, and steady gains.
Core Principles of RPE and Autoregulation for Beginner Strength Progression
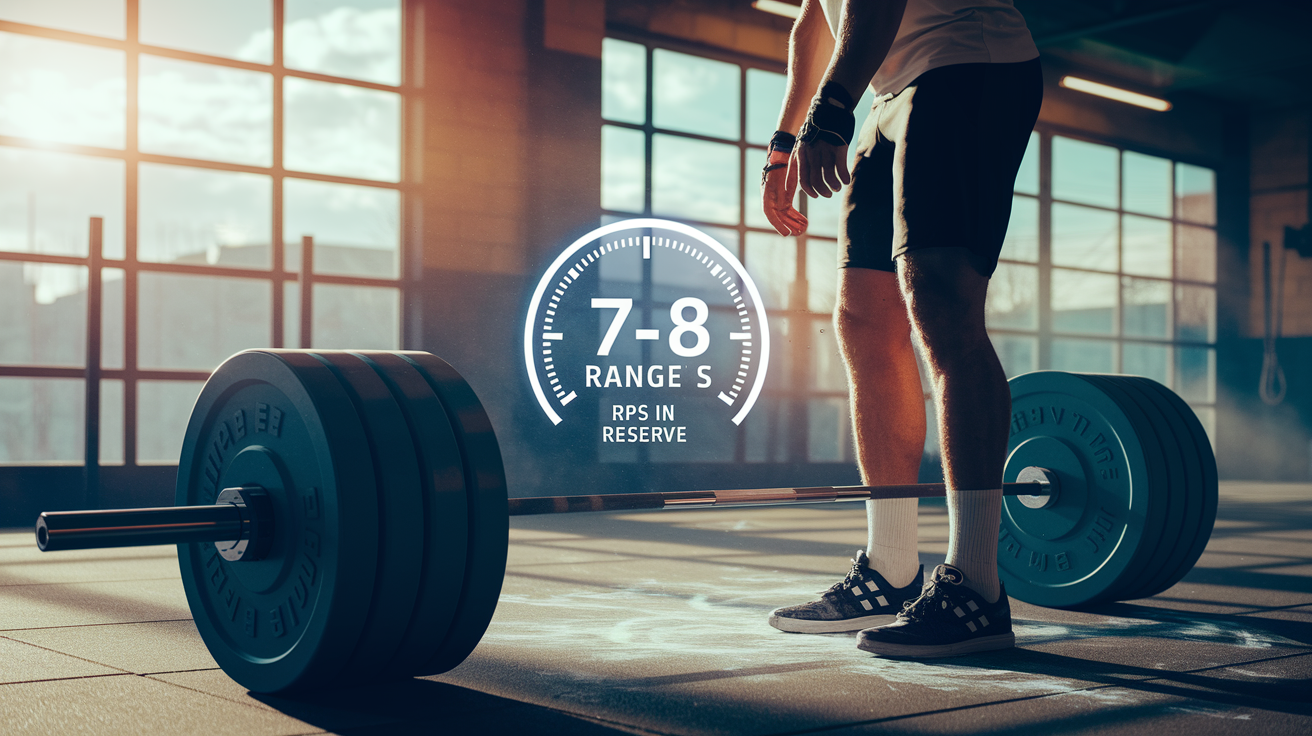
For your first session using RPE and autoregulation, aim for working sets at RPE 7 to 8. That means you’ve got about two or three more reps left if someone forced you to keep going. If a set hits RPE 9 or harder when you planned for RPE 7, drop the weight by 5 to 10% for your next set. If it’s too easy (RPE 6 or below), add a small amount of weight or plan to bump it up next time. Before your working sets, run through your warm-up and honestly check how the bar feels. If warm-up weights move slower than usual or feel heavier, expect to reduce your planned load by 5 to 10% that day.
Rate of perceived exertion uses a 1 to 10 scale to measure how hard a set feels. RPE 10 means you gave everything and couldn’t squeeze out another rep. RPE 9 means you could do one more. RPE 8 leaves about two reps in the tank. RPE 7 means roughly three reps remain. Anything RPE 6 and below tells you that you have four or more reps available. This simple mapping between RPE and reps in reserve (RIR) lets you describe intensity without calculating percentages or testing a one-rep max. The same load might feel like RPE 7 on a well-rested day but RPE 9 after poor sleep or high stress.
Autoregulation is the practice of adjusting your training intensity and volume based on daily readiness instead of rigidly following fixed percentages. You check your readiness during warm-up sets and modify the working weight to hit your target RPE. If warm-up sets move fast and feel light, you’re ready to stick to your plan or add a bit of weight. If they grind or feel unexpectedly heavy, you reduce the load to keep form clean and effort appropriate. This stops you from forcing bad sessions when your body isn’t ready and lets you push harder on strong days.
Signs of daily readiness include sleep quality (fewer than six hours or restless sleep signals lower readiness), energy level (feeling sluggish during warm-ups suggests reducing load), muscle soreness (moderate soreness is normal, but sharp pain or severe stiffness warrants caution), mental focus (difficulty concentrating or low motivation often accompany physical fatigue), and warm-up bar speed (if the empty bar or light sets move slower than usual, expect higher RPE at planned weights).
Skill-Building Drills to Develop Accurate RPE Ratings

Beginners rarely rate effort accurately at first. The fastest way to improve is to practice stopping sets a few reps short of failure and then comparing how that felt against your written rating. Pick a weight you can lift for 8 to 12 reps and stop at rep 5 or 6. This controlled practice teaches you what two to four reps in reserve actually feels like. After a few weeks of logging RPE alongside your actual reps and weights, patterns emerge. You’ll notice when you consistently underestimate or overestimate effort, and you can adjust your ratings accordingly.
Video feedback sharpens accuracy. Record your heavier sets and watch bar speed, grinding, facial strain. Reps that move smoothly without slowing are typically RPE 7 or below. Reps that grind (where the bar decelerates noticeably or you strain to lock out) usually sit at RPE 9 or higher. Comparing your written RPE to video evidence helps you correct the gap between perceived and actual effort. Another useful drill is to occasionally take a machine exercise or isolation movement to true failure (RPE 10) so you anchor the top of the scale. Don’t do this frequently on heavy barbell lifts, but knowing what failure feels like on a leg press or cable curl gives you a concrete reference point.
To learn accurate RPE ratings, follow these steps. Choose one exercise per session and write down your predicted RPE before the set, then rate it honestly after completing the reps. Stop all working sets at least one rep shy of failure for the first month to safely explore the RPE 6 to 9 range. Film one or two top sets each week and compare bar speed and visible effort to your logged RPE. Every two to three weeks, perform one set on a low-risk exercise (machine or dumbbell isolation) to true failure to recalibrate your sense of RPE 10.
Simple Calibration Drill for Beginners
Select a moderate weight on a leg press, dumbbell row, or similar exercise that you can safely perform for 8 to 12 reps. Perform the set and intentionally stop at rep 5 or 6, well before failure. Immediately rate the effort. If you felt you could complete three to four more reps with good form, log it as RPE 6 to 7. Repeat this drill across different exercises and loads over several sessions. This controlled stopping point builds your internal gauge for moderate intensity and prevents the common beginner mistake of either sandbagging every set or grinding to failure too often.
How Autoregulation Adjusts Strength Training Based on Daily Readiness

Autoregulation starts with your warm-up. After your general warm-up (light cardio, dynamic stretches), load the bar with your first warm-up weight and perform a set of three to five reps. Pay attention to bar speed, how your joints feel, overall energy. If the weight moves crisply and feels lighter than last session, your readiness is high. Stick to your planned working weight or consider a small increase. If it feels unexpectedly heavy or grinds, accept that today is an off day and reduce your working sets by 5 to 10%. This simple check takes less than two minutes and prevents you from forcing bad reps when your body isn’t prepared.
Once you begin working sets, continue monitoring RPE. If your program calls for 3×5 at RPE 7 but your first set lands at RPE 9, immediately drop the weight by 5 to 10% for the remaining sets or reduce the reps to three or four per set to stay within your target intensity. If all your sets feel like RPE 5 or 6 (much easier than planned), add a small increment next session or increase the load by one small plate for your final set to test readiness. These real-time adjustments keep you training at the right intensity for that specific day rather than blindly following a number written in your log last week.
Matching intensity to daily readiness also means adjusting volume and rest when needed. On days when fatigue is high, you might complete your planned sets but cut accessory work short, extend rest periods from two minutes to three, or eat a small snack mid-session to stabilize energy. On days when you feel strong, you can add an extra back-off set, reduce rest slightly to increase density, or tackle a planned PR attempt. The principle is simple: use the feedback your body provides during warm-ups and early working sets to guide the rest of the session.
| Readiness Scenario | Adjustment Rule |
|---|---|
| Warm-up sets feel light and fast | Proceed with planned weight or add 2.5 to 5 lb |
| Warm-up sets feel heavy or slow | Reduce working weight by 5 to 10% |
| First working set hits RPE 9 when target was RPE 7 | Drop load 5 to 10% or reduce reps by 1 to 2 for remaining sets |
| All sets feel RPE ≤6 when target was RPE 7 to 8 | Increase weight by 2.5 to 5 lb next session or add final AMRAP set |
Using RPE to Drive Weekly Strength Progression for Novices

Beginner strength progression works best when you fix your target RPE and increase weight only when you consistently meet your rep and RPE targets. A common novice template assigns 3×5 for main lifts like squats and bench presses at RPE 7 to 8, and 1×5 for deadlifts at RPE 8. When you complete all prescribed sets and reps with the final set at or below your target RPE for two consecutive sessions, add weight. Typically 5 lb (about 2.5 kg) for lower-body lifts and 2.5 lb (about 1.25 kg) for upper-body lifts. This small, frequent progression builds strength steadily without overwhelming recovery.
RPE provides the safety valve that percentage-based programs lack. If you planned to add 5 lb this week but your warm-up and first set both feel unusually hard, stay at the same weight and aim for RPE 7 instead of grinding through RPE 9 reps. Your log might show the same weight two or even three sessions in a row, but if those sessions maintain good technique and appropriate effort, you’re still progressing. Your body is adapting to the load. The next session, when readiness improves, the same weight will feel easier (lower RPE), and you can confidently add the planned increment. This cycle of matching load to daily readiness prevents stalls and injuries far better than rigid weekly jumps.
Recognizing when progress stalls matters. If you fail to meet reps or consistently hit RPE 9 to 10 when targeting RPE 7 to 8 for two to three weeks, don’t keep adding weight. Instead, hold the current load, improve technique, ensure you’re recovering properly (sleep, nutrition, stress management), or insert a deload week. Once RPE trends back down at the same weight, resume adding small increments. For the first six months, this simple approach (target RPE, meet reps, add small weight) drives consistent strength gains without complex programming.
Progression triggers using RPE: complete all prescribed sets and reps (e.g., 3×5) with final-set RPE at or below target (e.g., RPE 7) for two consecutive sessions. If an unplanned AMRAP set on the final working set yields two to three reps above the target rep range, increase weight next session. When the same weight consistently feels one RPE point easier across a week (e.g., RPE 6 when target was RPE 7), add load. If you reduce weight mid-session due to high RPE, return to that reduced weight next session and confirm RPE before progressing. Use small increments: 5 lb for squats and deadlifts, 2.5 lb for presses and bench, or 2 kg and 1 kg if using metric plates. Track trends over two to three sessions rather than reacting to a single hard or easy day.
Example 3×/Week Full-Body Progression
A beginner running a Monday/Wednesday/Friday full-body routine might squat 3×5 at RPE 7 to 8 on Monday, bench 3×5 at RPE 7 to 8, and deadlift 1×5 at RPE 8. On Wednesday, the same exercises repeat. If Monday’s squat at 135 lb felt like RPE 7 on all three sets, and Wednesday’s squat at 135 lb again landed at RPE 7 or below, Friday’s squat increases to 140 lb. The same rule applies to bench: if 95 lb for 3×5 meets RPE 7 to 8 on Monday and Wednesday, Friday moves to 97.5 lb. Deadlifts, performed only once per week in this template, increase by 5 lb each week as long as the single set of five stays at or below RPE 8. This steady, RPE-guided weekly increase continues for months until the lifter either misses reps or RPE climbs above target, signaling the need to hold weight or deload.
Practical Implementation: Adjusting Sets, Reps, and Load Using RPE

Mid-session adjustments keep you training at the right intensity without rigidly sticking to a number that no longer matches your readiness. If your program prescribes 3×5 at 100 lb targeting RPE 7, complete your first set and immediately assess the effort. If that set felt like RPE 9 (you ground out the final rep and form started breaking), reduce the weight to 95 lb (a 5% drop) or 90 lb (a 10% drop) for sets two and three. Alternatively, keep the weight at 100 lb but reduce reps to three or four per set. Both strategies bring RPE back into the target range and preserve technique.
When sets feel too easy, adjust upward cautiously. If your first set at 100 lb feels like RPE 5 or 6 when you expected RPE 7, you have two options: add 5 lb immediately for the remaining sets to test whether RPE climbs to target, or log the session as planned and increase weight by 5 lb next time. Beginners should favor the second approach (add weight between sessions rather than mid-workout) to avoid sudden jumps that compromise form. However, if you’re confident in your technique and the load feels genuinely light, a small mid-session increase (one small plate per side) can recalibrate intensity and make the session productive.
Five real-time adjustment rules: if the first working set exceeds target RPE by two points (e.g., RPE 9 when you planned RPE 7), reduce weight by 10% for all remaining sets. If the first set is one RPE point high (e.g., RPE 8 instead of RPE 7), drop reps by one or two per set or reduce weight by 5%. If all sets feel one to two RPE points too easy, note it in your log and add 2.5 to 5 lb next session rather than changing mid-workout. Stop any set immediately at technical failure (when form breaks: back rounds, knees cave, elbows flare) even if you haven’t reached your planned rep count or RPE. If fatigue spikes between sets (sudden dizziness, nausea, or loss of focus), extend rest by one to two minutes or reduce the remaining sets to maintain safety and form.
Sample Autoregulated Beginner Sessions and Weekly Structure

A practical intensity distribution structures each session around one or two heavier top sets followed by multiple lighter back-off sets. For example, after warm-ups, perform one top set of three reps at RPE 8 on the squat. This set challenges you but leaves one rep in reserve. Then complete three to four back-off sets of five reps at 10 to 15% less weight, targeting RPE 6 to 7. These back-off sets add training volume without excessive fatigue, letting you practice technique and build work capacity while staying well below failure. This top-set/back-off model balances intensity and volume, making it ideal for novices who need frequent practice without constant grinding.
Weekly structure for autoregulated sessions often follows a high/medium/low intensity pattern or simply repeats the same RPE targets across all sessions, letting daily readiness determine actual load. A Monday/Wednesday/Friday template might assign RPE 8 top sets on Monday and Friday with RPE 6 to 7 back-offs, and a lighter Wednesday session at RPE 6 to 7 across all sets to aid recovery. Alternatively, all three days use the same RPE targets (e.g., top set RPE 8, back-offs RPE 7) but autoregulation adjusts the weight each day. Both approaches work. The key is logging actual RPE so you can see whether you’re accumulating fatigue or recovering well between sessions.
Example Auto-Regulated Squat Session
Warm up with empty bar, then 95 lb ×5, 135 lb ×3, and 165 lb ×1. If 165 lb moves quickly and feels light, proceed to your planned top set of 185 lb for 3 reps at RPE 8. If 185 lb ×3 lands at RPE 8 as planned, reduce the weight to 160 lb (about 13% lighter) and perform four sets of five reps, aiming for RPE 6 to 7 on each. Rest two to three minutes between sets. Log each back-off set’s RPE. If all four land at RPE 6, consider adding 5 lb to next session’s top set. If one or two back-off sets climb to RPE 8, hold the weight next time or reduce volume slightly.
Example Weekly Intensity Distribution
Across a week, most working sets for a beginner should fall in the RPE 6 to 8 range. A typical distribution might be 60 to 70% of all working sets at RPE 6 to 7 (moderate effort, good for volume and technique), 20 to 30% at RPE 8 (challenging but controlled), and fewer than 10% at RPE 9 or higher (reserved for occasional top sets or testing). For example, in a session with one top set and four back-off sets per lift across three exercises, you’d have three top sets at RPE 8 and twelve back-off sets at RPE 6 to 7. This distribution accumulates enough stimulus to drive adaptation without burying you in fatigue, and it leaves room to push harder on days when readiness is high.
Fatigue Management and When to Deload Using RPE Trends

Fatigue accumulates when training stress outpaces recovery, and RPE trends reveal this before you miss reps or get injured. If your average session RPE drifts upward by one or more points over a week (meaning weights that used to feel like RPE 7 now consistently land at RPE 8 or 9), it’s time to intervene. Other signs include persistent poor sleep (waking frequently, trouble falling asleep), loss of appetite, declining motivation to train, or nagging joint pain that doesn’t resolve with a rest day. When two or more of these appear together, schedule a deload week rather than pushing through.
A deload reduces training stress to let your body catch up. The simplest method is to cut volume by 40 to 60%: if you normally do 3×5, drop to 2×5 or even 1×5 per lift. Alternatively, reduce intensity by one to two RPE points: perform your usual sets and reps but target RPE 5 to 6 instead of RPE 7 to 8, which typically means using 10 to 20% less weight. Both approaches work. Choose based on whether you feel more beaten up by heavy weights (reduce intensity) or total workload (reduce volume). A deload week usually lasts five to seven days, after which you return to normal programming with restored readiness and lower RPE at previous weights.
When to deload depends on your training frequency and volume, but most beginners benefit from a planned deload every four to eight weeks. If you’re progressing smoothly (adding weight every week or two, hitting target RPE, recovering well), wait until progress stalls or fatigue signs appear before deloading. If you notice RPE creeping up, sleep declining, or motivation dropping after three to four weeks of consistent progression, insert a deload preemptively. Interpreting RPE spikes as warning signs means you deload before performance crashes, not after, which keeps long-term progress steady and reduces injury risk.
Four early-warning signs of accumulated fatigue: same weights feel one to two RPE points harder across multiple sessions (e.g., 135 lb squat used to be RPE 7, now consistently RPE 9), sleep quality drops noticeably (trouble falling asleep, waking frequently, or feeling unrested after full nights), motivation and focus decline (skipping sessions, cutting workouts short, or feeling mentally drained before training), persistent minor aches or joint discomfort that doesn’t improve with a single rest day.
Tracking RPE, Logging Sessions, and Monitoring Progress Over Time

Effective tracking starts with a simple log format: date, exercise, sets, reps, weight, and RPE for each working set. For example, “March 5, Squat 3×5 @ 135 lb, RPE 7, 7, 8” tells you that your first two sets felt like RPE 7 and the last set climbed to RPE 8. This single line of data lets you compare sessions over weeks. If the next squat session shows “March 8, Squat 3×5 @ 135 lb, RPE 6, 7, 7,” you know the same weight became easier, signaling readiness to add load. Use a notebook, spreadsheet, or smartphone app, whatever you’ll actually fill out immediately after each set.
Tracking progress with RPE trends means looking for one of two patterns: the same weight at lower RPE over time, or higher weight at the same RPE. Both indicate strength gains. If 100 lb for 5 reps used to be RPE 8 and now it’s RPE 6, you’ve adapted. Add weight next session to bring RPE back to target. If you increase from 100 lb to 105 lb and RPE stays at 8, you’ve gotten stronger at that intensity. Warm-up consistency improves accuracy: perform the same warm-up sequence (same weights, same reps, same rest) every session so you have a stable baseline for comparing how each day feels. Inconsistent warm-ups make it harder to judge whether a working set’s RPE reflects your readiness or just a rushed preparation.
| Metric Logged | Purpose |
|---|---|
| Date | Track frequency and identify patterns over time |
| Exercise, sets, reps, weight | Record objective training variables for comparison |
| RPE for each working set | Measure subjective effort and detect fatigue trends |
| Warm-up feel (1 to 10 or notes) | Assess daily readiness before working sets |
| Sleep/energy/stress notes | Contextualize RPE and identify recovery issues |
When RPE at the same weight drops consistently across two to three sessions, increase the load by the smallest available increment. For lower-body lifts, add 5 lb. For upper-body lifts, add 2.5 lb. If your gym lacks fractional plates, round to the nearest available weight or bring microplates. Conversely, if RPE climbs at the same weight for two to three sessions without an obvious cause (poor sleep, high stress), hold the weight and focus on technique, or deload for a week. Using RPE trends to decide when to increase load removes guesswork and keeps progression tied to your actual capacity rather than a calendar or arbitrary percentage jumps.
Common Beginner Mistakes When Using RPE and Autoregulation
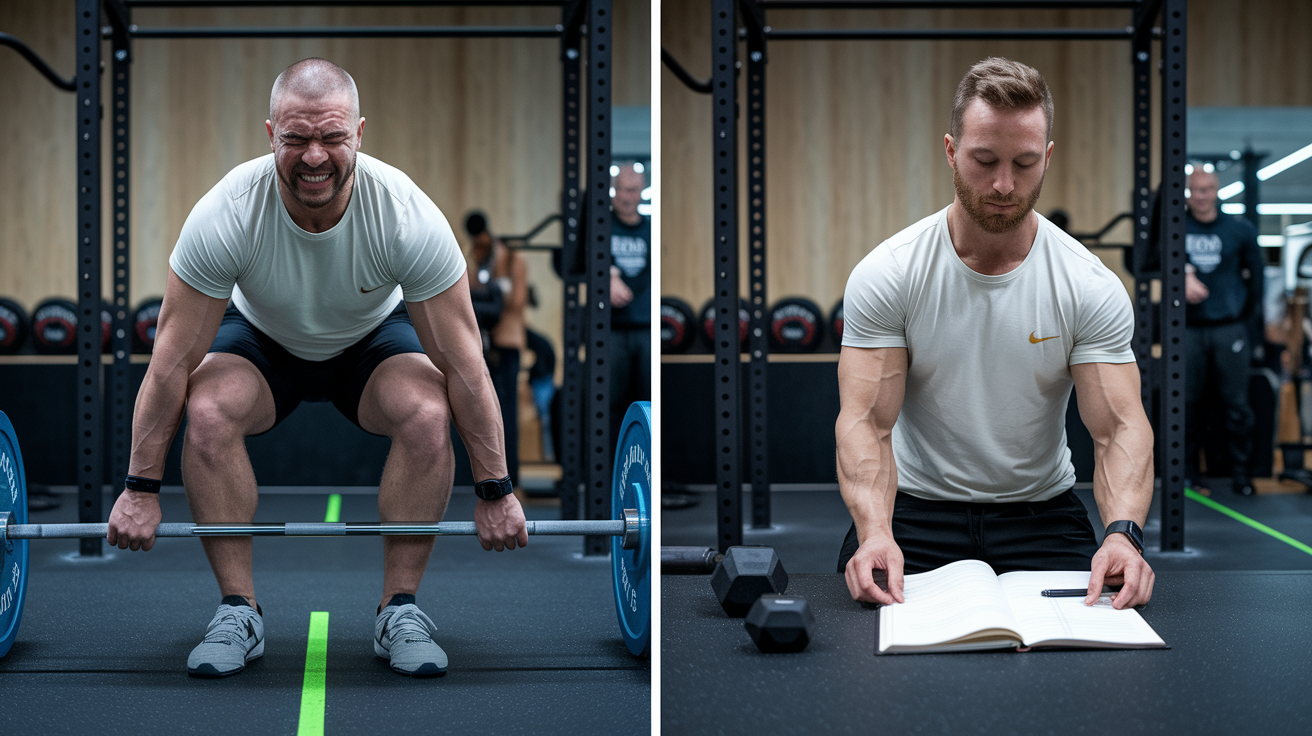
Beginners often rate effort inaccurately in the first few months, either stopping too early out of caution or pushing too hard out of enthusiasm. A common mistake is confusing muscular discomfort (the burn in your quads during a squat) with true proximity to failure. That burn might appear at rep eight of a possible twelve, leading you to rate the set RPE 9 when you actually had four reps left (closer to RPE 6). Practice stopping sets short and testing your reserves occasionally to calibrate what “two reps left” truly feels like. Another frequent error is training at RPE 9 to 10 too often because you assume more effort always equals better results. In reality, consistently grinding to failure accumulates fatigue faster than you can recover, leading to stalled progress and increased injury risk.
Ignoring warm-up feedback is a mistake to avoid. If your first warm-up set moves slowly or feels unexpectedly heavy, but you proceed with your planned working weight anyway, you’ll likely hit much higher RPE than intended and compromise form. Similarly, making large weight jumps (adding 10 lb to a press or 20 lb to a squat after one good session) often results in failed reps or excessive RPE the following week. Small, frequent increments (+2.5 to 5 lb) compound into significant strength gains over months without the volatility of big jumps. Forcing reps past technical failure is another pitfall: if your back rounds on a deadlift or your knees cave on a squat, stop the set immediately, even if you haven’t reached your target reps. One rep with poor form teaches bad patterns and increases injury risk. It’s never worth the extra fatigue.
Six mistakes beginners commonly make: training every set at RPE 9 to 10, believing maximum effort is always necessary for progress. Underestimating RPE by stopping too early out of fear, then failing to accumulate enough stimulus. Ignoring daily readiness signals from warm-ups and forcing planned weights despite high fatigue. Making weight jumps larger than 5 lb on lower-body lifts or 2.5 lb on upper-body lifts after a single successful session. Continuing sets past technical failure (form breakdown) to hit a target rep count or RPE. Not logging RPE consistently, which prevents tracking fatigue trends and makes it impossible to judge when to add weight or deload.
Exercise Selection and Technique Considerations for Autoregulated Strength Progression

Choosing exercises for autoregulation starts with recognizing that heavy barbell compounds (squats, deadlifts, bench presses, overhead presses) carry higher systemic fatigue and injury risk, so they work best in the RPE 6 to 9 range. Reserve RPE 10 (true failure) for lower-risk movements like machine leg presses, cable rows, or dumbbell curls, where failure won’t result in a barbell pinning you or forcing compensatory movement. For main strength lifts, stopping at technical failure (the point where form degrades) is the preferred rule. This keeps you training hard enough to progress while preserving joint health and motor patterns.
Measuring technique degradation under fatigue requires either video feedback or a trained eye, but beginners can learn simple cues. On squats, watch for knees caving inward, heels lifting, or excessive forward lean that shifts load away from the target muscles. On deadlifts, monitor for a rounding lower back or hips rising faster than shoulders. On bench presses, look for elbows flaring excessively, shoulders shrugging toward ears, or the bar path drifting away from a straight line. Any of these signals technical failure, and you should end the set immediately. Machines and isolation exercises tolerate slightly worse form because the movement is guided and loads are lighter, making them safer to push closer to or even to muscular failure (RPE 9 to 10).
Technical Failure Cues for Common Lifts
For the squat, stop the set if your knees collapse inward on the ascent, your heels come off the floor, or your torso folds forward excessively. These indicate you’ve lost control of the movement and further reps will reinforce poor patterns. On the deadlift, end the set immediately if your lower back rounds (lumbar flexion) or your hips shoot up while your chest stays down, leaving you in a nearly horizontal position. For the bench press, technical failure occurs when your shoulders elevate and protract off the bench, your elbows flare past 45 degrees from your torso, or the bar path becomes erratic. Pull-ups reach technical failure when your shoulders shrug toward your ears instead of pulling down and back, or when you start kipping or swinging to complete reps. Learning these cues and filming your sets helps you stop at the right moment, keeping RPE honest and training safe.
Realistic Case Examples of RPE-Based Beginner Progress
Imagine you planned a squat session of 3×5 at 140 lb targeting RPE 7. After your warm-up, the empty bar and lighter sets move well, and you load 140 lb for your first working set. You complete all five reps, but the set feels like RPE 9. You ground the last rep and your form started breaking on rep four. This is a fatigued-day scenario. You immediately reduce the weight to 130 lb (about 7% lighter) for sets two and three, and both land at RPE 7 to 8 with good form. You log “3×5 @ 140/130/130 lb, RPE 9/7/8” and note that you reduced load mid-session. Next squat day, you start at 130 lb, and if it feels like RPE 7 across all sets, you’ll try 135 lb the session after.
Now consider a strong-day case. You planned 3×5 at 95 lb on the bench press targeting RPE 7. Warm-ups feel light and fast. Your first set at 95 lb moves smoothly and feels like RPE 6. Sets two and three also land at RPE 6. You log the session, and next bench day you increase to 97.5 lb. If 97.5 lb for 3×5 now hits RPE 7, you’ve successfully progressed. If it still feels like RPE 6, you add another 2.5 lb the following session. This example shows how autoregulation rewards readiness: when you feel strong, the same plan becomes easier, and you capitalize by adding load.
A mid-session adjustment example: your program calls for deadlift 1×5 at RPE 8, and you load 185 lb. After completing three reps, you feel your lower back start to round slightly and bar speed slows dramatically. You stop at rep three (technical failure) rather than forcing two more reps with poor form. You log “Deadlift 1×3 @ 185 lb, RPE 9, stopped at technical failure.” Next deadlift session, you reduce to 175 lb and aim for a clean set of five at RPE 8. This case illustrates the principle of stopping when form breaks, even if you haven’t hit your target reps.
Finally, a stall resolution case. You’ve been squatting 150 lb for 3×5 targeting RPE 7 to 8, but over the past three sessions it’s felt like RPE 9 to 10 every time, and you’ve missed reps on the third set twice. You review your log and notice sleep has been poor (averaging five to six hours) and stress has been high. Instead of adding weight or repeating the same grind, you insert a deload week: 2×5 at 120 lb, RPE 6. After the deload, you return to 145 lb (5 lb lighter than the stall weight), complete 3×5 at RPE 7, and the following week you hit 150 lb at RPE 7 to 8 with all reps. The deload reset your fatigue, and you resumed progressing. This case shows how RPE trends and recovery signals guide smart adjustments that prevent long stalls or injuries.
Final Words
Start your sessions at RPE7–8: warm up, judge readiness, and adjust load 5–10% if sets feel off.
This post gave clear definitions of RPE and autoregulation, drills to improve rating accuracy, session and weekly progression rules, fatigue warning signs, tracking tips, and common beginner pitfalls.
Use these tools consistently—log weights, watch RPE trends, and deload when effort drifts upward. Using RPE and autoregulation to progress strength as a beginner gives you a simple, flexible plan you can stick with. Keep at it; small, steady wins add up.
FAQ
Q: What is RPE and how should a beginner use it?
A: The rate of perceived exertion (RPE) is a 1–10 effort scale; beginners should target RPE7–8 for main lifts, adjust weight if sets feel too easy or hard, and use warm-ups to judge readiness.
Q: How does RPE map to RIR (reps in reserve)?
A: The RPE maps to RIR like this: RPE10 = 0 RIR, RPE9 = 1 RIR, RPE8 = 2 RIR, RPE7 = 3 RIR; use it to stop sets safely and measure effort.
Q: What is autoregulation and how do beginners apply it?
A: Autoregulation adjusts load by daily readiness; beginners assess warm-up feel, lower target weight 5–10% if early sets feel 1–2 RPE points harder, or raise slightly on strong days.
Q: How do I adjust weight mid-session when a set feels harder or easier than planned?
A: To adjust mid-session, drop load 5–10% if a planned RPE7 set feels like RPE9, or add weight/reps if the set is RPE6 or below; stop at technical failure.
Q: How should beginners progress weekly using RPE?
A: Beginners should use final-set RPE to guide small jumps: add +5 lb to lower-body and +2.5 lb to upper-body when work sets hit reps with final-set RPE ≤ target for two sessions.
Q: How can I learn to rate RPE accurately as a beginner?
A: You can learn accurate RPE by practicing submaximal sets (stop 2–4 reps shy), testing occasional controlled failures on machines, and using video or coach feedback to correct rating errors.
Q: What signs show I’m ready or not ready to train hard today?
A: Signs of readiness include strong warm-ups, good sleep, good mood, and steady appetite; low readiness shows heavy warm-ups, poor sleep, slow recovery, persistent soreness, or failing expected reps.
Q: When should I deload based on RPE trends?
A: You should deload when RPE trends up by about one point across a week, progress stalls for 2–3 weeks, sleep is poor, or several sessions feel consistently harder than normal.
Q: What should I log to track RPE progress and when to increase load?
A: You should log weight, reps, and RPE for each working set; increase load when you lift more weight at the same RPE or hit target reps with lower RPE across sessions.
Q: What common beginner mistakes should I avoid with RPE and autoregulation?
A: Common mistakes include overrating effort, training at RPE9–10 too often, ignoring warm-up feedback, forcing reps past technical failure, and making large weight jumps that slow progress.
Q: Which exercises work best with RPE-based autoregulation and when should I stop a set for form reasons?
A: Heavy barbell compounds suit RPE 6–9 best; stop a set if knees cave, hips shoot up, or the back rounds—machines and isolation lifts tolerate higher RPE with less system-wide fatigue.
Q: What’s a simple calibration drill I can do tonight to practice RPE?
A: The simple calibration drill is an 8–12 rep controlled set stopped 3–4 reps shy of failure; use a modest weight and note how hard it felt to learn RPE6–7 by feel.