

Want to get noticeably stronger in 12 weeks without guessing your next weight?
Most beginners stall because they add chaos, not consistency.
This plan breaks 12 weeks into three simple phases with weekly milestones so you know exactly what to hit each week.
You’ll learn form, add small weight jumps, use planned deloads, and finish with a test day to see real results.
Read on to get the step-by-step schedule, the weekly goals, and the easy tracking method you can use tonight.
Full 12-Week Strength Progression Overview

This 12-week plan breaks beginner strength training into three phases. Weeks 1–4 teach you how to move correctly and build work capacity. Weeks 5–8 add more volume and heavier weight. Weeks 9–12 drop the reps, crank up the intensity, and test what you’ve built. Each week stacks on the last through small bumps in weight or reps, giving you a clear line from your first session to your final test.
| Week | Primary Exercises | Sets/Reps | Weekly Goal/Milestone |
|---|---|---|---|
| 1 | Squat, Bench, Row, Deadlift, Plank | 3×8–10 | Complete all sessions with good form at RPE 7 |
| 2 | Squat, Bench, Row, Deadlift, Plank | 3×8–10 | Add 2.5–5 lb on upper lifts, 5 lb on lower lifts |
| 3 | Squat, Bench, Row, Deadlift, Plank | 3×8–10 | Increase reps to top of range or add weight again |
| 4 | Squat, Bench, Row, Deadlift, Plank | 2×8 (deload) | Reduce volume 40%; recover and prepare for phase 2 |
| 5 | Squat, OHP, Pull-Up, RDL, Split Squat | 4×6–8 | Transition to 4 sets; maintain RPE 7–8 |
| 6 | Squat, OHP, Pull-Up, RDL, Split Squat | 4×6–8 | Add small weight increments session by session |
| 7 | Squat, OHP, Pull-Up, RDL, Split Squat | 4×6–8 | Hit top of rep range on all main lifts |
| 8 | Squat, OHP, Pull-Up, RDL, Split Squat | 3×6 (deload) | Reduce sets; measure 10–20% load increase vs week 1 |
| 9 | Squat, Bench, Deadlift, Row, Carries | 4×4–5 | Lower reps, heavier loads; rest 2–3 minutes |
| 10 | Squat, Bench, Deadlift, Row, Carries | 3×4 (mini-deload) | Reduce load 10%; focus on crisp technique |
| 11 | Squat, Bench, Deadlift, Row, Carries | 3×3 + AMRAP set | Test rep max on final set; stop at RPE 9 |
| 12 | Squat, Bench, Deadlift | Work to 3RM | Record new 3RM; compare to week 1 baseline |
The progression rule is simple. When you finish all sets and reps at the right effort, you add weight next session. Upper body moves get 2.5–5 pounds. Lower body gets 5–10 pounds early on, then slows to 2.5–5 as things get heavier. Deload weeks in weeks 4, 8, and 10 cut volume or intensity so your body can actually recover and adapt. Week 12 is your graduation test. You’ll see how much stronger you got since day one.
How to Follow the Program Effectively
Train three times per week on non-consecutive days. Monday/Wednesday/Friday works. So does Tuesday/Thursday/Saturday. Just leave at least one rest day between sessions. Each workout takes 45–75 minutes including warm-up and cool-down. Adjust loads based on RPE targets in the table. RPE 7 means you could do about three more reps. RPE 8 means two more reps in reserve. If a weight feels heavier than the target RPE, drop it by 5–10% and rebuild over the next two sessions.
Don’t have a barbell? Use dumbbells or kettlebells and follow the same set and rep structure. Replace back squats with goblet squats, barbell bench with dumbbell bench, conventional deadlifts with kettlebell Romanian deadlifts. The key is keeping the same movement patterns (squat, hinge, push, pull) and applying progressive overload every week.
Most important behaviors:
Show up for all three weekly sessions. Consistency beats intensity.
Log every set, rep, and weight so you know what to beat next time.
Add weight only when you hit the top of the rep range cleanly.
Take deload weeks seriously. Recovery is where strength actually builds.
Sleep 7–9 hours per night and eat enough protein to support muscle repair.
If you miss a session, just pick up where you left off. Don’t cram two workouts into one day or add extra sets to “catch up.” If you miss a whole week, reduce all loads by 5–10% when you return and rebuild over the next couple sessions.
Warm-Up and Movement Preparation Basics

Warming up gets blood flowing to working muscles, raises core temperature, and primes your nervous system for heavier loads. A proper warm-up cuts injury risk and improves performance on the first working set. Beginners who skip warm-ups often report stiff joints, slower strength gains, and more minor aches.
Four-step warm-up:
Spend 5 minutes on light cardio. Row, bike, brisk walk, or jumping jacks. Go until you feel slightly warm and breathing picks up.
Do 2 sets of 8–10 bodyweight squats. Focus on depth and control.
Do 2 sets of 8–10 hip hinges. Hinge at the hips, push your butt back, keep your spine neutral, then stand up. This preps you for deadlifts and rows.
Complete 2 progressive warm-up sets for your first main lift using an empty barbell or light dumbbells, then one set at about 50% of your working weight, then one set at 75%.
If you’re very new to training or returning after a long break, add an extra warm-up set and keep loads lighter for the first two weeks. If you’re younger or already active, you can shorten cardio to 3 minutes and move straight into movement prep.
Key Exercise Techniques Explained

Safe, effective strength training comes down to mastering five fundamental movement patterns. Each pattern shows up across multiple exercises in the program, so learning the basic mechanics once lets you apply them everywhere.
Squat Pattern
Stand with feet roughly shoulder-width apart, toes slightly turned out. Brace your core by taking a deep breath and tightening your abs like someone might punch your stomach. Push your hips back and bend your knees at the same time, lowering until your hip crease drops below your knee (or as deep as your mobility allows without your lower back rounding). Drive through the middle of your foot to stand back up. Keep your chest tall and knees tracking over your toes the whole time.
Hinge Pattern
A hinge moves your hips back while keeping your spine neutral and your shins mostly vertical. Place your feet hip-width apart and soften your knees slightly. Push your hips straight back like you’re closing a car door with your butt, letting your torso lean forward naturally while keeping a flat back. You should feel tension in your hamstrings and glutes. Reverse the motion by squeezing your glutes and driving your hips forward to stand tall. Don’t round your lower back or turn the hinge into a squat by bending your knees too much.
Horizontal Push
Lie on a bench with your shoulder blades pulled together and down, feet flat on the floor. Grip the barbell or dumbbells slightly wider than shoulder width. Lower the weight under control to your mid-chest, keeping your elbows at about a 45-degree angle from your torso (not flared out to 90 degrees). Press the weight straight up until your elbows are fully extended. Maintain tension in your upper back throughout. Don’t bounce the bar off your chest or let your shoulders roll forward at the top.
Horizontal Pull
Set up a barbell row by hinging forward until your torso is roughly 45 degrees from vertical. Pull the bar toward your lower chest or upper belly, leading with your elbows and squeezing your shoulder blades together at the top. Lower under control without letting your torso bounce or swing. For dumbbell rows, place one hand and one knee on a bench, keep your back flat, and pull the dumbbell to your hip while keeping your elbow close to your body.
Loaded Carry
Pick up a heavy dumbbell, kettlebell, or trap bar and walk forward with good posture. Keep your shoulders down and back, chest up, and core braced. Take short, controlled steps and don’t lean to one side. Carries build grip strength, core stability, and real-world functional strength that transfers outside the gym.
Equipment Options and Home Alternatives

You can run this entire program with a basic home setup. An adjustable dumbbell set (or a few fixed pairs), a sturdy bench, and a pull-up bar or resistance band anchor point. Adjustable dumbbells let you progress in small increments, which matters for upper body lifts where 5-pound jumps can feel huge early on.
If you train at a commercial gym, you’ll have access to barbells, plates, squat racks, and cable machines. That makes it easier to load exercises precisely and scale up over time. But none of that is required to get stronger.
Common equipment alternatives:
Barbell squat → Goblet squat with dumbbell or kettlebell
Barbell deadlift → Dumbbell Romanian deadlift or kettlebell sumo deadlift
Barbell bench press → Dumbbell bench press or push-ups with added resistance
Barbell row → Dumbbell single-arm row or resistance band row
Pull-ups → Resistance band-assisted pull-ups or lat pulldown machine
Overhead press → Dumbbell overhead press or kettlebell press
The key is keeping the movement pattern (squat, hinge, push, pull) and the progression structure consistent. If you switch from barbell to dumbbell mid-program, treat it as a new baseline and rebuild your loads over a week or two.
Tracking Progress and Weekly Milestones

Write down every working set in a simple notebook or phone app. Record the date, exercise name, weight used, sets, reps completed, and how hard it felt (RPE 1–10 scale). This log becomes your roadmap. If you can’t remember what you lifted last session, you can’t know whether you’re progressing. Beginners who track consistently see faster strength gains because they always know the exact target to beat.
| Week Milestone | What to Expect | How to Measure |
|---|---|---|
| Week 4 | Confidence in all main lifts; noticeable strength on upper body; technique feels smoother | Compare loads to week 1; aim for 5–10% increase on lower body, any increase on upper body |
| Week 8 | All main lifts up 10–20% from baseline; work capacity improved; recovery faster between sessions | Check training log; total volume (sets × reps × weight) should be visibly higher across all lifts |
| Week 12 | New 3RM on squat, bench, deadlift; visible muscle definition; increased confidence and energy in daily life | Record your 3RM and compare to your week 1 estimated max or heaviest set; expect 15–30% gains for consistent beginners |
Don’t panic if one lift lags behind. It’s normal for squat or deadlift to progress faster than bench or overhead press, especially in the first few months. Focus on beating your own previous numbers, not comparing yourself to others.
Nutrition Basics to Support Strength Gains
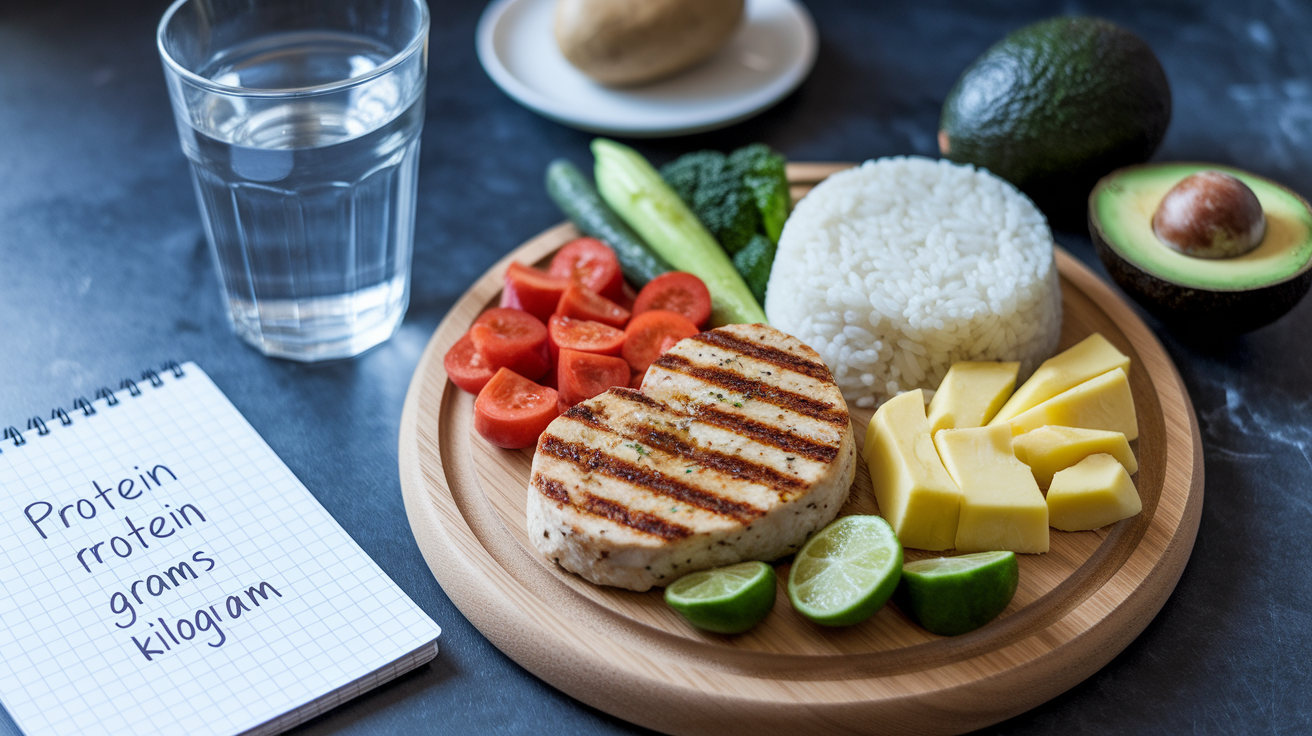
Strength training breaks down muscle tissue. Protein and calories rebuild it stronger. Shoot for 1.6–2.2 grams of protein per kilogram of body weight daily. For a 150-pound person, that’s roughly 110–150 grams spread across 3–5 meals. Lean meats, eggs, Greek yogurt, cottage cheese, and legumes are easy, affordable sources. If you struggle to hit your protein target through food alone, a simple whey or plant-based protein shake after training helps close the gap.
Carbohydrates fuel your training sessions and refill muscle glycogen between workouts. Eat a balanced meal with starchy carbs (rice, potatoes, oats, bread) 1–3 hours before lifting, and another one within a few hours afterward. Hydration matters too. Drink enough water that your urine stays pale yellow. Add a pinch of salt to meals if you sweat heavily during workouts.
Easy nutrition habits to support this program:
Eat a palm-sized portion of protein at every meal.
Drink at least 2 liters of water daily, more on training days.
Time your largest carb serving around your workout (before or after).
Sleep 7–9 hours per night. Muscle repair happens during deep sleep.
You don’t need to track every calorie or follow a rigid meal plan. Just eat enough to feel energized during workouts and recover well between sessions. If you’re losing weight unintentionally or feeling unusually tired, add an extra snack or slightly larger portions at meals.
Safety, Recovery, and When to Adjust the Plan
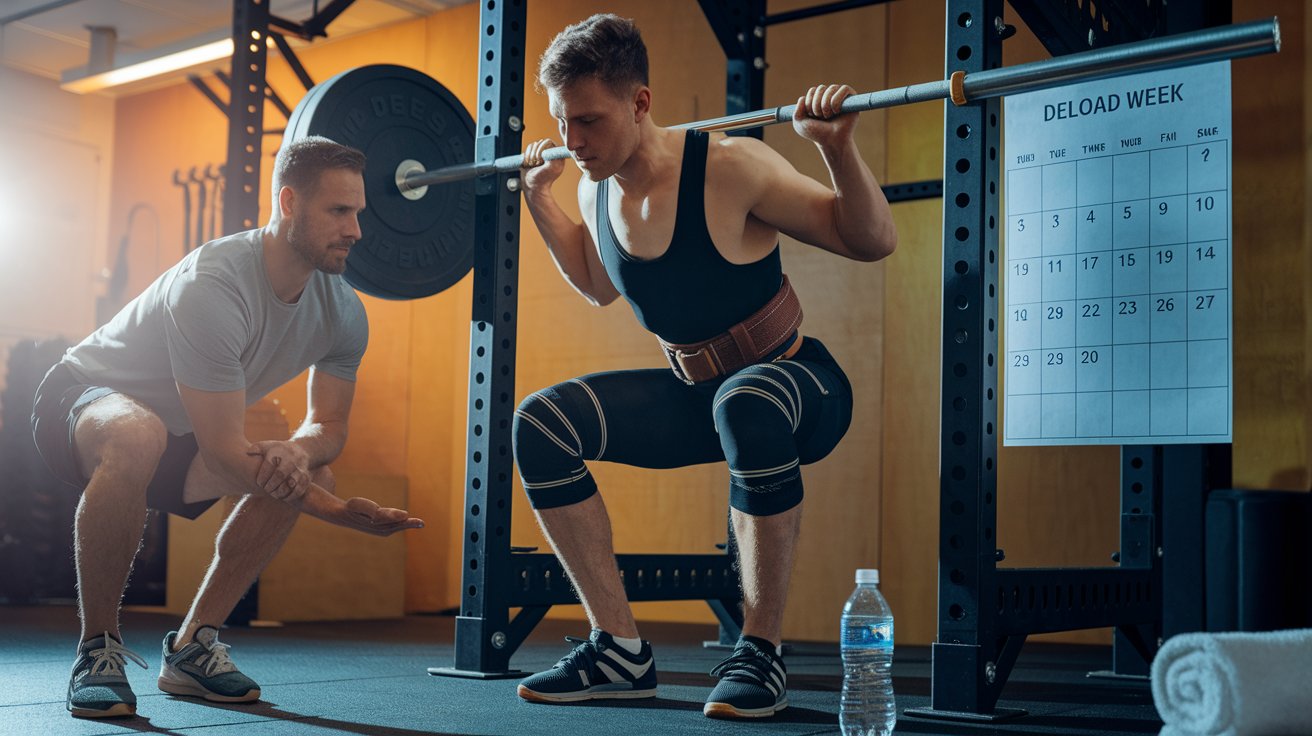
Stop immediately if you feel sharp, stabbing pain during a lift. Dull muscle soreness is normal. Joint pain or sudden shooting pain is not. Use a spotter or safety pins when benching heavy, and always warm up thoroughly before your first working set. If a movement consistently causes discomfort, substitute it with a similar exercise that feels better. Swap barbell squats for goblet squats if your shoulders can’t comfortably hold the bar, for example.
Recovery is where strength actually improves. Your muscles adapt and grow stronger during the 48–72 hours after a workout, not during the session itself. Get 7–9 hours of sleep per night, stay hydrated, and eat enough protein and total calories to support muscle repair. If you’re chronically tired, irritable, or your performance drops for two sessions in a row, take an extra rest day or insert an unplanned deload week (cut all loads by 30% and do only 2 sets per exercise).
What to do if the program feels too hard or too easy:
Too hard, can’t complete sets: Reduce all loads by 10%, rebuild over 2–3 sessions, and make sure you’re eating and sleeping enough.
Too easy, finishing with lots of reps left: Bump the weight by 5–10 pounds on lower body lifts or 2.5–5 pounds on upper body lifts.
Constant soreness or fatigue: Add one extra rest day per week or take a full deload week (reduce volume by 50%).
Bored with exercise selection: Swap one accessory lift for a similar movement (replace dumbbell rows with cable rows, for instance) but keep the main lifts consistent.
Missed a week or more: Resume at 90% of your last recorded weight and rebuild over the next week or two. Don’t try to jump back in at full intensity.
Listen to your body, track your sessions honestly, and adjust when needed. The best program is the one you can follow consistently for all 12 weeks.
Final Words
Start by using the full 12-week overview and week-by-week table to set your Week 1 weights and a simple goal.
Train 3x/week, do the 5–8 minute warm-up, focus on squat/hinge/push/pull/carry technique, and pick home-friendly equipment if needed.
Track weights, reps, and RPE so you hit milestones at weeks 4, 8, and 12. Tonight, jot your starting numbers and commit to the first small step. This 12-week beginner strength progression plan with weekly milestones is doable—keep showing up and you’ll see real progress.
FAQ
Q: What is the 12-week strength program?
A: The 12-week strength program is a progressive full-body plan with three weekly sessions, focusing on squat, hinge, push, pull, and carry, with small weekly load increases and milestones at weeks 4, 8, and 12.
Q: How often should I train each week?
A: Training three times per week gives beginners steady full-body stimulus, with rest days for recovery and skill gains, and it fits busy schedules.
Q: How should I increase load each week?
A: You should increase load by about 2.5–5% each week, adding small weight or an extra rep when form is solid, using the smallest increment available to stay consistent.
Q: What are the primary lifts and recommended rep ranges?
A: The primary lifts are squat, hinge, horizontal push, horizontal pull, and loaded carry; beginners should use 8–12 reps per set, 2–4 sets, focusing on control and steady progression.
Q: What is a simple warm-up routine?
A: A simple warm-up is 5–8 minutes of dynamic moves: bodyweight squats, hip hinges, arm circles, and walking lunges; start easy, increase range, and loosen stiff joints.
Q: How do I modify exercises at home with limited equipment?
A: You can modify exercises at home by using dumbbells, resistance bands, or bodyweight; swap goblet squats for barbell squats, Romanian deadlifts with dumbbells, and band rows for barbell rows.
Q: How should I track progress and milestones?
A: You should track weight, reps, sets, and an effort score (RPE) in a simple note; expect coordination gains by week 4, clearer strength increases by week 8, and measurable improvements by week 12.
Q: How much protein and hydration do I need to support strength gains?
A: You should aim for about 1.6–2.2 g/kg protein daily to support muscle growth; include protein at each meal, stay hydrated, and eat carbs around workouts for energy.
Q: What should I do if the program feels too hard or too easy?
A: If the program feels too hard, reduce load, cut a set, or add rest; if it feels too easy, add five pounds, one set, or extra reps while keeping good form.
Q: What are the main technique cues for squat, hinge, push, pull, and carry?
A: The main technique cues are: squat—chest up, knees track toes; hinge—hips back, neutral spine; push—brace core, press through mid-chest; pull—lead with elbows, squeeze blades; carry—tall posture, steady breath.