

You don’t need to max out to measure strength — trying to is a fast way to get hurt.
Instead, use simple, safety-first tests that show real progress.
Start with a quick PAR-Q prescreen and a proper warm-up, check movement form, then run three easy tests: push-ups, squats, and a plank.
Add a submax load test later if you want a training number.
This post lays out step-by-step protocols, easy benchmarks by age and sex, and clear rules for when to stop.
By the end you’ll know exactly how to test beginner strength safely and track gains without drama.
Safe Foundations for Beginner Strength Testing Protocols
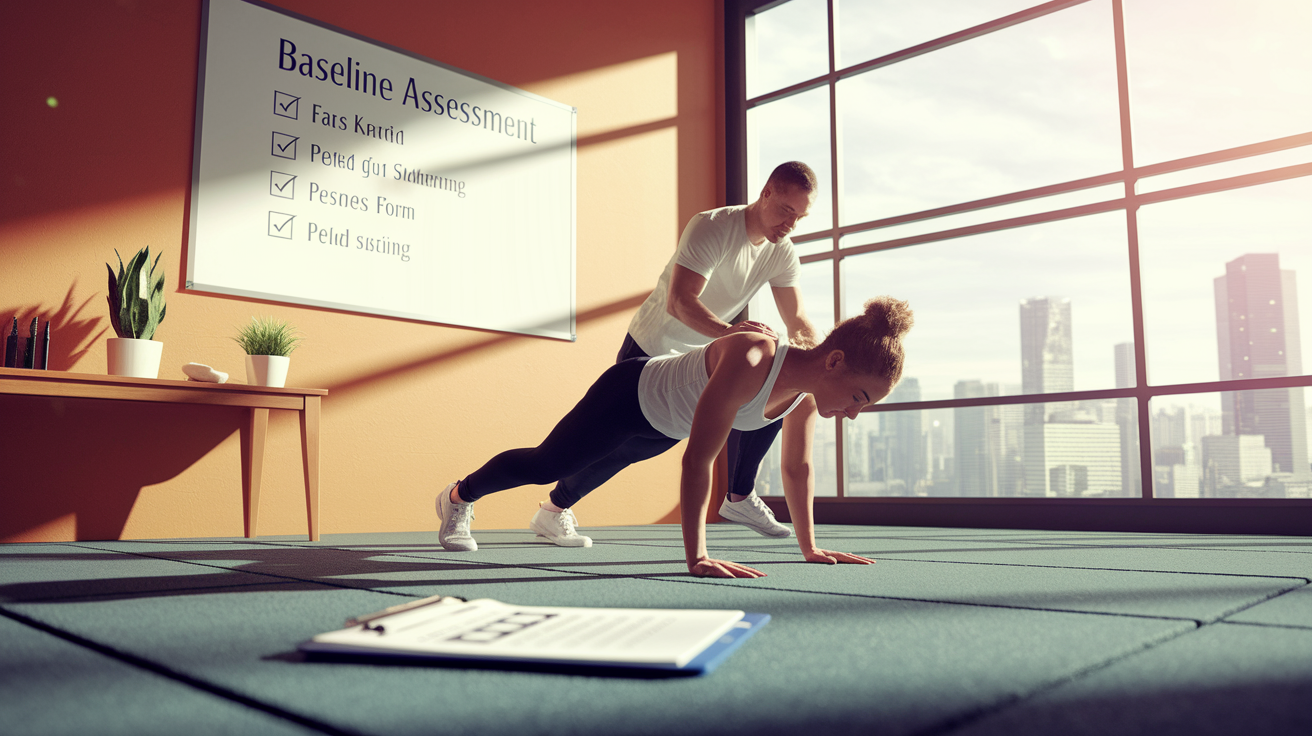
Structured testing cuts out guesswork and kills the intimidation that stops most beginners from measuring where they actually stand. When you’ve got a safety-first framework, you know your baseline assessment won’t turn into a trip to urgent care. You’re swapping the impulse to go too heavy, too soon for repeatable, submaximal tests you can run every few weeks to see if you’re actually getting stronger.
Before anything else, knock out a quick PAR-Q prescreen and warm up. PAR-Q is just a handful of yes/no questions about chest pain, dizziness, joint trouble, meds. If you answer yes to anything, talk to a doctor before you test. Warm up for 5 to 10 minutes. That’s it.
Your beginner baseline lives in three tests: push-ups, squats, planks. Minimal gear, direct carryover to real life, clear targets for progression. Push-ups tell you about upper-body pushing endurance. Squats show lower-body capacity and hip mobility. Planks measure core stability when you’re holding still under tension. Cover those three and you’ve got what you need to start building.
- Run through PAR-Q and talk to a provider if anything looks sketchy.
- Warm up 5 to 10 minutes before you test.
- Test in this order: push-ups, squats, plank.
- Rest 2 to 3 minutes between tests so fatigue doesn’t mess with your numbers.
- Write down your reps or hold time right away, plus a note on effort and how your form felt.
Warm-Up Protocols Supporting Beginner Strength Testing
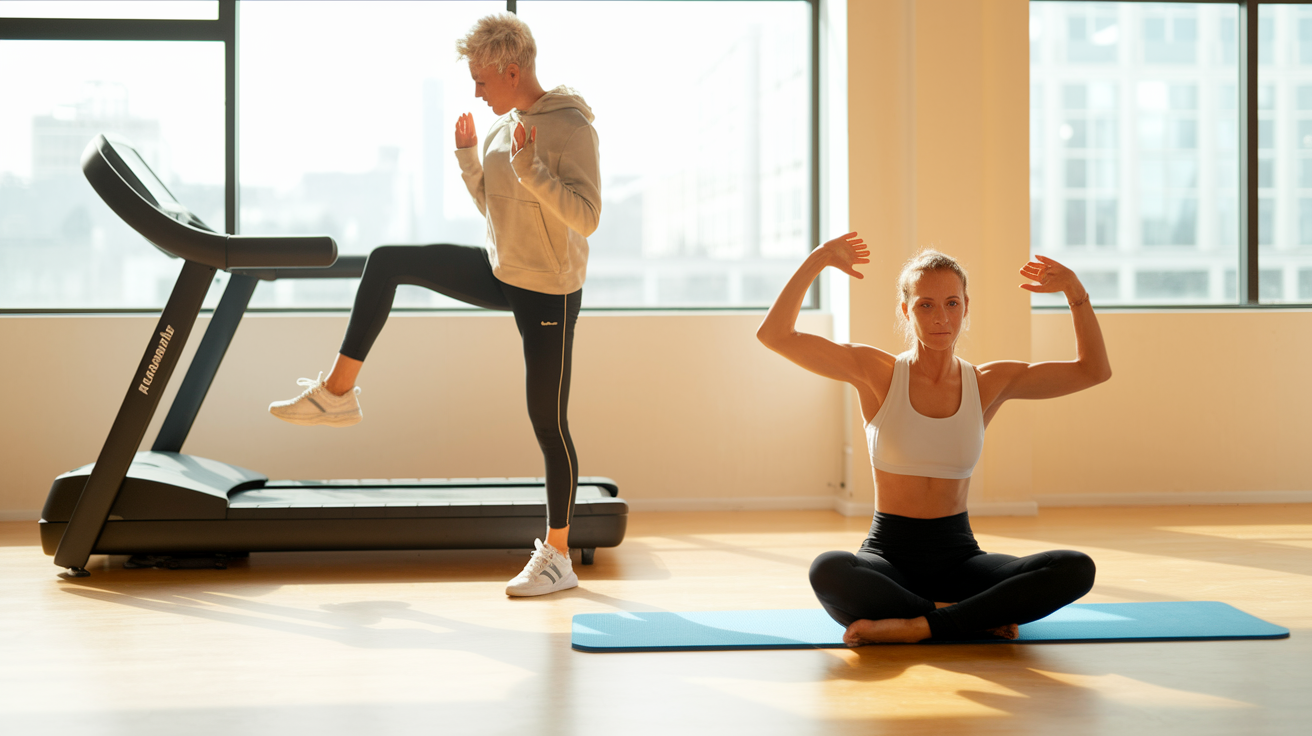
A real warm-up preps your joints, gets your core temperature up, and rehearses the patterns you’re about to load. You want two layers: general cardio to move blood around, then dynamic mobility that mimics the angles and ranges you’ll hit in each test. Skip this and you’re looking at higher injury risk plus artificially low scores, because cold muscles don’t fire efficiently.
Start with 3 to 5 minutes of light cardio. Brisk walk, slow jog, stationary bike. You’re aiming for mild sweat and a heart rate that climbs but still lets you talk. Follow that with 3 to 5 minutes of dynamic mobility. These drills take each joint through full range in a controlled rhythm, prepping your nervous system and connective tissue for loaded work.
After general mobility, do 2 light warm-up sets of each test movement at roughly 30 to 50% of what you think you can handle. For push-ups, maybe 3 to 5 reps from your knees or on a bench. For squats, slow air squats. For planks, a 10-second hold. These rehearsal sets lock in technique and make your actual test feel familiar instead of jarring.
Sample dynamic mobility drills:
- Leg swings: front to back and side to side, 10 swings each leg. Loosens hips and primes squat mechanics.
- Arm circles: forward and reverse, 10 reps each way. Opens shoulders for push-ups and overhead stuff.
- Hip hinges: 10 bodyweight good-mornings or RDL mimics. Teaches hinge pattern and hamstring engagement.
- Thoracic rotations: 10 per side. Mobilizes upper back and improves rib-cage mobility for breathing under load.
- Ankle rocks: forward lunge hold with gentle knee-over-toe pulses, 10 per leg. Preps ankles for squat depth.
Movement Competency Checks Before Beginner Strength Tests
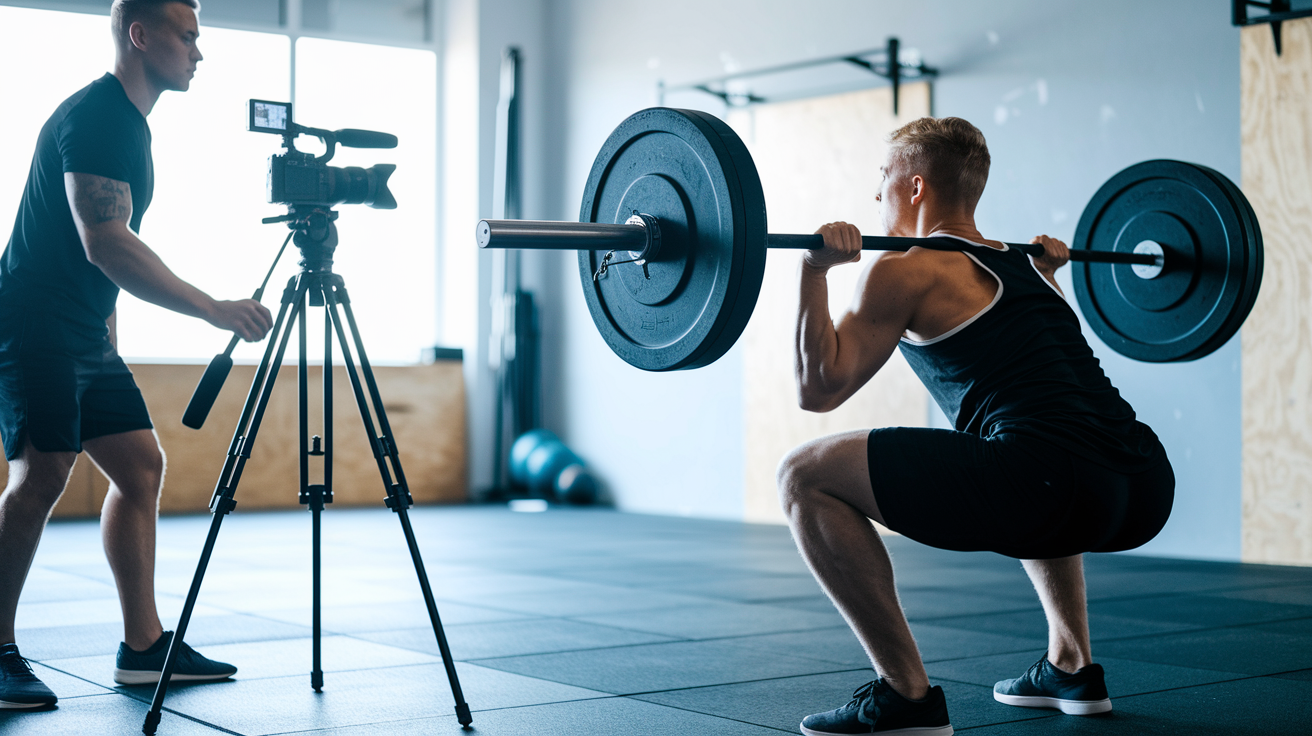
Testing numbers only matter if the movement doesn’t look like a car crash. Before you record reps, confirm you can perform each pattern through safe, full range without pain or major form breakdown. These competency checks act as a quick go/no-go screen, catching technique flaws or mobility gaps that would otherwise trash your results or set you up for injury.
Start each check unloaded and at slow tempo. For squats, lower until your hip crease passes below your knee (if that’s safe for you), then stand smoothly. Watch your knees. They should track over your toes, not collapse inward. For push-ups, your chest should descend to about 2 to 3 cm from the floor while your body stays rigid. For the plank, you want a straight line from head to heels without hip sag or butt shooting skyward.
If you spot a technique red flag, fix it before testing. Use a regression (box squat, incline push-up), film yourself from the side, or grab a coach to watch one set. Once your form passes the eyeball test at an easy tempo, you’re cleared to attempt your timed or max-rep test.
| Movement | Key Cue | Red Flag (Technique) |
|---|---|---|
| Squat | Knees track over toes; hip crease below knee | Knees collapse inward; heels lift; torso folds forward excessively |
| Push-Up | Body straight; chest to 2–3 cm from floor | Hips sag; elbows flare past 45°; head juts forward |
| Plank | Straight line head to heels; elbows under shoulders | Hips drop or pike up; shoulders shrug; head hangs |
Bodyweight Beginner Strength Tests and Benchmarks
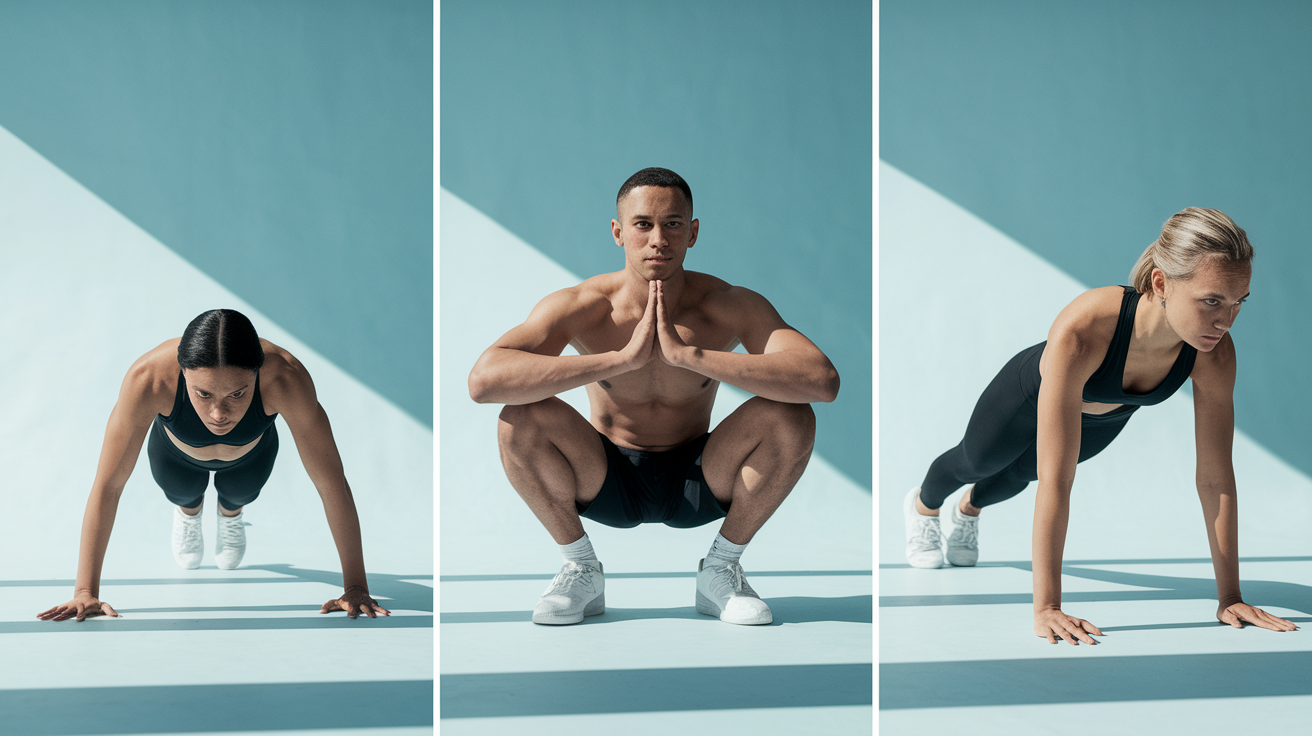
Bodyweight tests strip out the complexity of loading and let you focus purely on movement quality and work capacity. They’re accessible anywhere, require almost zero equipment, and produce objective numbers you can compare across weeks and months. The three standards below cover pressing, squatting, and static core endurance, giving you a well-rounded snapshot of foundational strength.
Each test follows the same structure: warm up, perform one all-out effort within a set time or until form breaks, rest fully, then move to the next test. Count only reps that meet the full-range standard. Stop immediately if you feel sharp pain, dizziness, or extreme breathlessness. Your score is the number of quality reps or the hold time you achieve, plus a quick rating of perceived exertion on a 0 to 10 scale.
Push-Up Test
Protocol: As many strict push-ups as possible in 60 seconds. Lower your chest to 2 to 3 cm from the floor, pause briefly, then press back up while keeping your body rigid and neck neutral.
- Modifications: knee push-ups (knees on mat, same upper-body mechanics); incline push-ups (hands on a bench or box); wall push-ups (hands on wall, easiest option).
- Termination criteria: form breakdown (hips sag, elbows flare excessively), sharp shoulder pain, dizziness, or RPE at or above 9.
- Benchmarks (men 18–29): Poor under 10; Below average 10 to 19; Average 20 to 29; Good 30 to 39; Excellent 40 and up.
- Benchmarks (women 18–29): Poor under 3; Below average 3 to 9; Average 10 to 19; Good 20 to 29; Excellent 30 and up.
Squat Test
Protocol A (mobile, able-bodied): As many bodyweight squats as possible in 60 seconds. Descend until your hip crease drops below knee level (if safe), then stand fully.
Protocol B (older/limited mobility): 30-second sit-to-stand test from a standard chair (roughly 43 to 50 cm height). Fold arms across chest if possible; count full stands.
- Modifications: box squat to a predetermined depth; partial-range squat if full depth causes pain; goblet squat with a light dumbbell (8 to 16 kg) held at chest to help maintain upright torso.
- Benchmarks AMRAP 60s (men 18–29): Poor under 30; Average 30 to 45; Good 46 to 60; Excellent 60 and up.
- Benchmarks AMRAP 60s (women 18–29): Poor under 20; Average 20 to 35; Good 36 to 50; Excellent 50 and up.
- Sit-to-stand 30s normative: beginners and older adults often score 8 to 15 reps; aim to improve 10 to 25% over 4 to 8 weeks.
Plank Test
Protocol: Forearm plank with body in a straight line. Hold as long as possible, up to a 180-second ceiling. Stop when hips sag significantly, shoulders shrug, or you feel pain.
- Modifications: knee plank (knees on mat, maintain straight line from knees to head); elevated plank (forearms on a bench); shorter intervals (3 sets of max 30 to 60s holds with 30s rest between).
- Benchmarks (men 18–29): Poor under 30 s; Average 30 to 60 s; Good 60 to 120 s; Excellent over 120 s.
- Benchmarks (women 18–29): Poor under 20 s; Average 20 to 45 s; Good 45 to 90 s; Excellent over 90 s.
For a broader introduction to beginner-friendly baseline tests and simple workout standards, see 5 benchmark workouts for beginners.
Submaximal Load Testing and Safe Estimation Methods for Beginners

True one-rep max testing carries unnecessary risk for beginners. Your technique is still developing, your connective tissues haven’t adapted to peak loads, and a failed heavy single can injure you or wreck your confidence. Submaximal testing solves this by using manageable weights for 3 to 5 reps, then applying a conservative formula to estimate your theoretical max. The result is a useful training reference without the dangers of an actual max attempt.
The most common approach is a 3 to 5 rep max (3 to 5RM) test. Warm up thoroughly, then find a weight you can lift for 3 to 5 clean reps but not 6. Rest 3 to 5 minutes and confirm the weight with one more set if needed. Once you have your 3 to 5RM, plug it into the Epley formula to estimate your 1RM: 1RM = weight × (1 + reps ÷ 30). For example, if you goblet squat 50 lb for 5 reps, estimated 1RM = 50 × (1 + 5 ÷ 30) = roughly 58 lb. Use this number as a training target, not gospel.
An alternative for beginners is the timed farmer carry. Load two dumbbells or kettlebells to roughly 50 to 75% of what you think you can handle, then carry them 50 meters at a steady walk. Record the weight and time. This test builds grip, core stability, and full-body tension without the technical demands of a barbell lift. Repeat every 4 to 6 weeks and aim to carry heavier weights or cover the distance faster.
Submaximal testing guidelines:
- Start goblet squat loads at roughly 25 to 50% of bodyweight for females and 30 to 60% for males; adjust by individual capacity.
- Use 3 to 5RM rather than 1RM to reduce injury risk and technique breakdown.
- Apply the Epley formula for a ballpark 1RM only after a safe 3 to 5RM is confirmed.
- Consider timed farmer carries as a beginner-friendly alternative that demands less skill but still measures loaded strength and endurance.
Safety Rules, Termination Criteria, and Red Flags During Beginner Tests

Testing pushes you closer to your limit than a normal training set, so clear stop rules keep the process safe. These criteria aren’t suggestions. They’re non-negotiable circuit breakers that protect you from injury, overexertion, and long-term setbacks. Memorize them before you start and honor them the moment they appear.
Stop immediately if you experience chest pain, sudden severe dizziness, vision changes, sharp joint pain that doesn’t ease within seconds, prolonged breathlessness that rest doesn’t relieve, or an RPE above 9 on a 0 to 10 scale. Also stop if your form breaks down to the point that you can’t maintain the movement’s defining features. For example, hips sagging badly in a push-up, knees collapsing inward in a squat, or your plank turning into a hip-drop. Count only reps that meet the full-range standard. Partial reps inflate your score and teach sloppy habits.
Red flags that require immediate test termination:
- Chest pain or pressure
- Sudden dizziness or lightheadedness
- Vision changes (blurriness, tunneling, spots)
- Severe joint pain (sharp, localized, doesn’t ease quickly)
- Prolonged excessive breathlessness unrelieved by brief rest
- RPE over 9 (feeling you can’t sustain effort safely or maintain any semblance of form)
Equipment and Setup Preparation for Beginner Strength Assessments
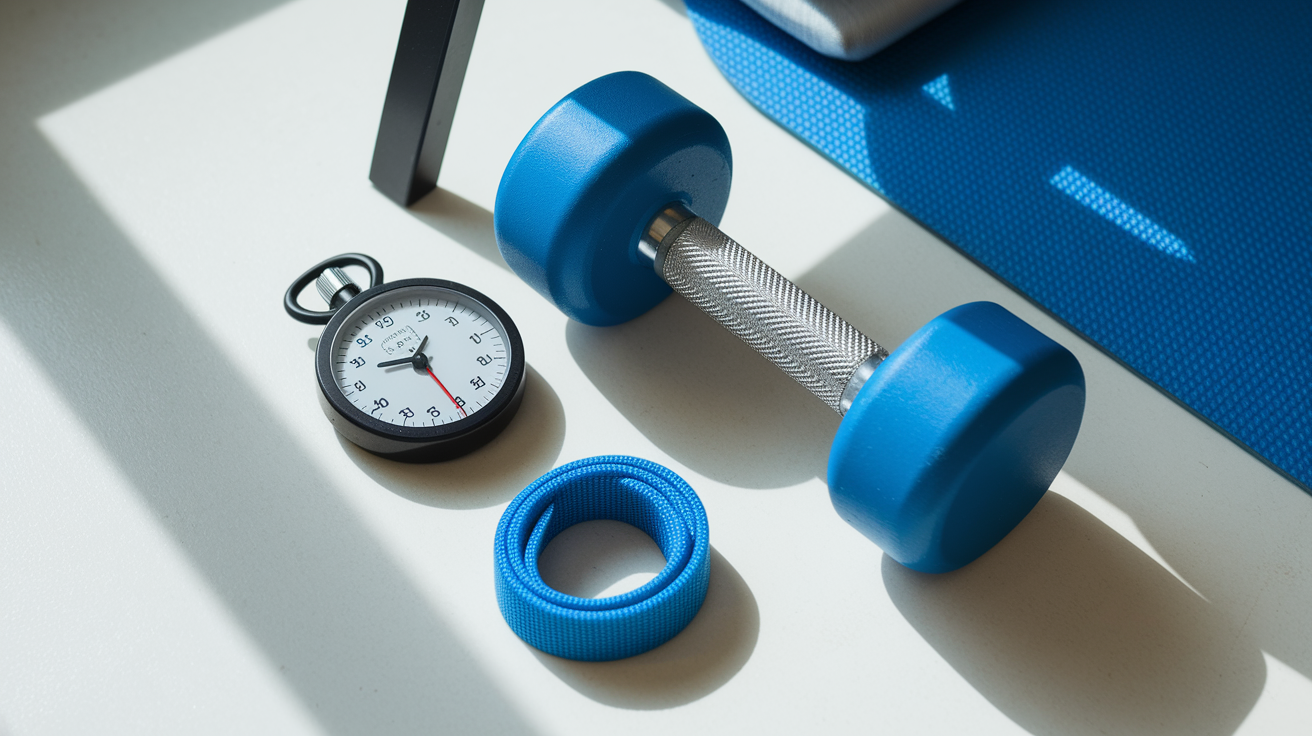
Minimal equipment reduces barriers and keeps your focus on movement, not gear. For the three bodyweight tests, you need a stopwatch or timer app, an exercise mat for cushioning and grip, and a stable chair or box roughly 43 to 50 cm high for the sit-to-stand alternative. If you’re adding submaximal load tests, a single dumbbell or kettlebell in the 8 to 24 kg range covers most beginners, and a resistance band can assist or add challenge to regressions.
Check your environment before testing. Use a flat, non-slip surface with enough open space to perform a full push-up and squat without hitting furniture. Make sure the chair or box won’t slide when you sit and stand repeatedly. Wipe down equipment and wash your hands. Sanitary conditions prevent skin infections and keep your focus on performance. Wear flat, stable footwear or go barefoot if your flooring allows. Squishy running shoes make squat balance harder.
Setup checklist:
- Stopwatch or timer app, fully charged and tested.
- Exercise mat for push-ups and planks; firm enough to support your elbows without excessive sink.
- Stable chair or box (43 to 50 cm height) for sit-to-stand test, placed on non-slip flooring.
- Optional: one adjustable dumbbell or kettlebell (8 to 24 kg range); resistance band for assistance or added load.
Tracking Beginner Strength Benchmarks and Recording Results

Numbers you don’t write down become hazy memories, and hazy memories can’t guide your next training cycle. Immediate documentation turns subjective effort into objective data you can review, compare, and build upon. A simple log captures your reps or hold time, your perceived exertion, and a quick note on form quality or any discomfort. Over weeks, these entries reveal patterns, confirm progress, and highlight when it’s time to retest or adjust your program.
Record your results right after each test, while details are fresh. Write the date, the test name, your score (reps or seconds), and an RPE rating from 0 (no effort) to 10 (absolute maximum). Add a brief form note: “good depth,” “elbows flared last 10 reps,” “hips sagged at 45 seconds.” Retest every 4 to 6 weeks using the same protocol, same warm-up, and ideally the same time of day. Beginners typically improve 5 to 15% across 4 to 8 weeks with consistent training. If your numbers stall or drop, review your recovery, nutrition, and programming.
A basic spreadsheet or printable log works fine. You can also use a notes app or a dedicated training app. For a ready-made template, see the rep & weight log sheet as one option for tracking.
| Test | Baseline Result | RPE (0–10) | Notes |
|---|---|---|---|
| Push-Ups (60s) | 12 reps | 8 | Form solid; elbows flared slightly last 3 reps |
| Squats (60s) | 28 reps | 7 | Good depth; slight knee wobble when fatigued |
| Plank (max hold) | 42 seconds | 9 | Hips began to sag at 38s; stopped at form break |
Progression Standards and Retesting Frequency for Beginners
Once you have baseline numbers, the next question is how much to improve and how fast. Beginners respond quickly to new stimulus, so your strength and endurance can climb noticeably within the first month. Realistic targets keep you motivated without pushing so hard you burn out or get hurt. Aim for 5 to 15% improvement over 4 to 8 weeks on these tests. That might mean adding 2 to 3 push-ups, holding your plank 10 to 15 seconds longer, or completing 3 to 5 more squats in the allotted time.
Training between tests should follow simple progression rules. When you can complete your target reps for two consecutive sessions with good form, add a small challenge: one more rep per set, a slightly longer hold, or 2.5 to 5 lb of external load if you’ve moved to weighted variations. These micro-jumps compound quickly. Retesting every 4 to 6 weeks gives your body enough time to adapt while keeping the feedback loop tight. If you retest too often, normal day-to-day fluctuations (sleep, stress, meal timing) can mask real progress.
Track your retests in the same log as your baseline. Compare scores, note any changes in ease or form quality, and adjust your next training block based on what you see. If you’re progressing on schedule, keep your program steady. If gains stall, examine recovery, nutrition, and whether you’re actually training the tested movements consistently.
Progression guidelines:
- Expect 5 to 15% improvement every 4 to 8 weeks during the beginner phase.
- Increase load by 2.5 to 10% or add 1 to 2 reps when you exceed your target range for two straight sessions.
- Retest every 4 to 6 weeks to balance feedback frequency with adequate adaptation time.
- Document each retest using the same format as your baseline for easy comparison.
Adaptations for Special Populations and Post-Injury Beginner Strength Testing

Not everyone starts from the same baseline, and standard tests can be too aggressive for older adults, people returning from injury, or those with mobility restrictions. Adaptations let you measure progress safely while respecting your current capacity. The sit-to-stand test already offers a lower-impact squat alternative. Similar regressions exist for push-ups and planks, ensuring no one is excluded from baseline assessment.
For older adults (especially those over 45 with cardiovascular risk factors), complete a PAR-Q and consider a medical consultation before testing. Use the 30-second sit-to-stand as your primary lower-body test. Replace standard push-ups with incline or wall push-ups, which reduce shoulder load and make the movement more joint-friendly. Swap the full plank for a knee plank or use shorter interval holds (three rounds of 20 to 30 seconds) rather than one max effort.
Post-injury populations should work with a physical therapist or qualified coach to determine safe test modifications. If you have a shoulder issue, skip push-ups entirely until cleared, and substitute a supported row or band pull-apart test. Knee pain might mean using a box squat to a controlled depth or sticking with sit-to-stand. Hip or low-back issues often benefit from an elevated plank or shorter hold times. The goal is to find a version of each movement that produces useful data without aggravating your limitation.
Adaptation strategies:
- Older adults: prioritize sit-to-stand, incline or wall push-ups, knee planks or interval holds; complete PAR-Q and consult a provider if risk factors are present.
- Post-injury: work with a clinician to identify safe movement patterns; substitute tests that avoid the injured area.
- Mobility restrictions: use partial-range variations (box squat, partial push-up) and document the modification so you can track progress within that range.
- Chronic conditions (cardiovascular, metabolic): seek medical clearance before any maximal or near-maximal effort testing.
Final Words
Start with a simple, structured test: a quick prescreen, a one-sentence warm-up, movement checks, then push-ups, squats, and a plank with rests between. Keep loads submax and focus on form.
Write down reps, time, and RPE, then retest every 4–6 weeks so you can track gains and adjust by small, steady increases.
Use this as your go-to on how to test beginner strength safely protocols and benchmarks. You’ll see real progress without extra risk—keep at it.
FAQ
Q: What are safe foundations for beginner strength testing protocols?
A: Safe foundations for beginner strength testing protocols are structured, submaximal tests with simple safety reminders, clear movement cues, and non‑maximal efforts to build confidence while lowering injury risk.
Q: What prescreen and warm-up should beginners do before testing?
A: Prescreen essentials are a quick PAR‑Q check and watching for red flags; do a brief warm‑up and pause or stop for dizziness, chest discomfort, or sharp joint pain.
Q: Which movement competency checks should be done before tests?
A: Movement competency checks assess squat depth and knee tracking, push‑up body alignment, and plank straight‑line posture; only full‑range, controlled reps are counted for testing.
Q: Which bodyweight tests and benchmarks should beginners use?
A: Recommended bodyweight tests are push‑up AMRAP (60s), squat AMRAP (60s) or 30s sit‑to‑stand, and plank max hold (up to 180s), using age/gender benchmarks as guides.
Q: How should beginners perform submaximal load testing and safely estimate max?
A: Beginners should avoid true 1RM, use 3–5RM or timed carries, estimate max with Epley formula, and start goblet squats around 25–50% bodyweight for females and 30–60% for males.
Q: What safety rules and termination criteria should be followed during tests?
A: Safety rules and termination criteria include stopping for chest pain, severe dizziness, sharp joint pain, breathlessness not eased by rest, loss of control, or RPE above 9 out of 10.
Q: What equipment and setup do beginners need for strength assessments?
A: Basic equipment and setup include a stopwatch, exercise mat, stable chair/box (43–50 cm), an 8–24 kg dumbbell/kettlebell, good flooring, and clean, stable surfaces for testing.
Q: How should beginners track benchmarks and record results?
A: Track benchmarks by recording reps or time, RPE (0–10), and brief form notes; store results in a phone note or simple spreadsheet and retest every 4–6 weeks for progress.
Q: How often should beginners retest and how do they progress after testing?
A: Retest every 4–6 weeks; progress by increasing load 2.5–10% when you hit target reps twice, or add reps/sets; expect roughly 5–15% gains over 4–8 weeks.
Q: How do you adapt tests for older adults or post‑injury beginners?
A: Adaptations for special populations include sit‑to‑stand, knee or incline push‑ups, and plank regressions; use PAR‑Q screening and lower intensity, and consult a clinician if recovering from injury.